Useful App Elements
Streamlit offers easy ways to interact with data and customize layouts for your app. Please see the API reference. Features created by users in the Streamlit community are also included on the reference page as components.
App layouts and containers to organize elements within your app can be found here.
Magic and st.write
Streamlit’s
Magic
feature utilizes st.write() to render code when variables or literal
values are on an individual line of code.
st.write() is Streamlit’s “Swiss Army
knife”
and decides how to best render the argument passed through in the app.
Arguments can include strings, dataframes, errors, Matplotlib figures,
Plotly figures, and more.
x = 10
'x', x  # 👈 Draw the string 'x' and then the value of x
Magic will render this in the app like:

A screenshot showing Magic’s rendering in app
# Also works with most supported chart types
import matplotlib.pyplot as plt
import numpy as np

arr = np.random.normal(1, 1, size=100)
fig, ax = plt.subplots()
ax.hist(arr, bins=20)

fig  # 👈 Draw a Matplotlib chart
A Matplotlib chart will be drawn:
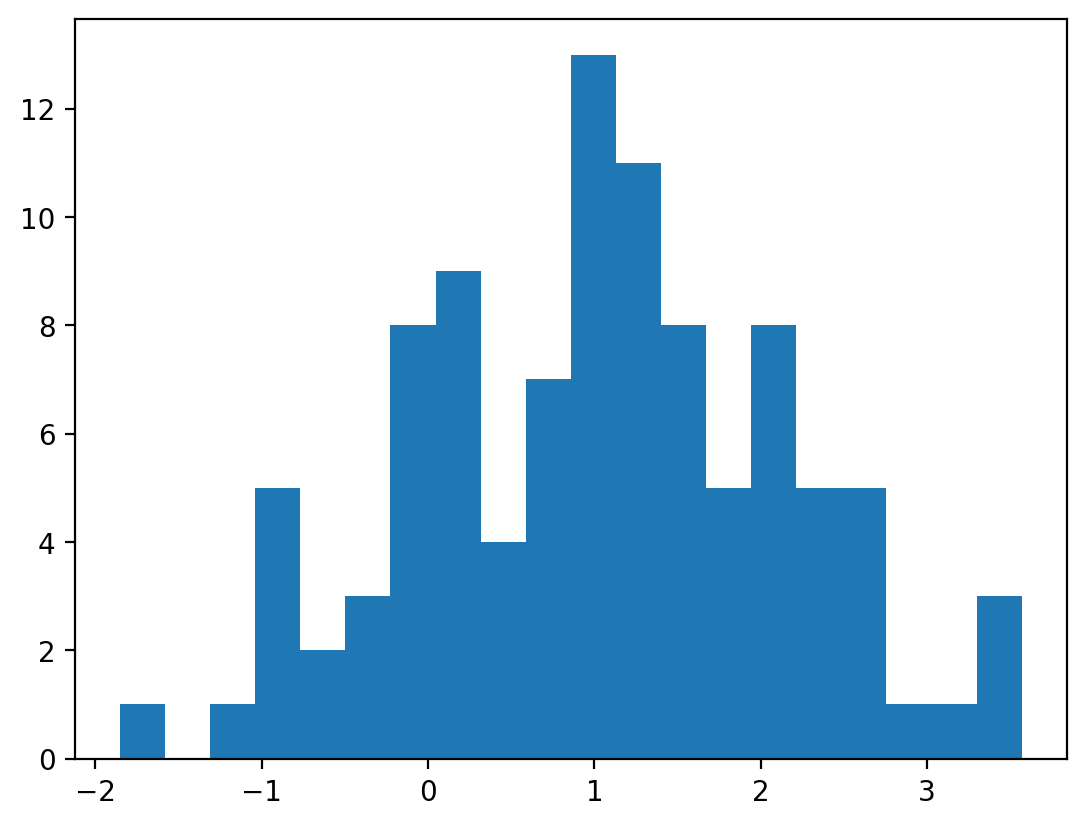
A screenshot showing Magic’s rendering in app
import pandas as pd

df = pd.DataFrame({
  'first column': [1, 2, 3, 4],
  'second column': [10, 20, 30, 40]
})

df # 👈 Draw the dataframe
The dataframe will be appear with interactive column headers:
A gif showing interactive columns of the simple dataframe
Text Display
See documentation. Various text formats are shown below. Streamlit also supports LaTeX and preformatted text.
st.title("App Title")
st.header("This is a header")
st.subheader("This is a subheader")
st.markdown("This is ***markdown*** text")
st.caption("This is a caption")
st.divider()
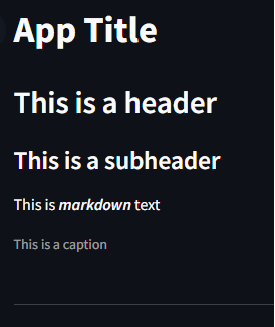
Screenshot showing text on app
Streamlit can also display code blocks. The default language syntax
highlighting is Python. Syntax highlighting of other languages are also
available
or use language="none" for none.
code = '''def hello():
    print("Hello, Streamlit!")'''
st.code(code, language='python')

Screenshot showing code block on app
Interactive Widgets
See documentation for the full list and options.
Selection Widgets
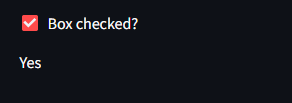
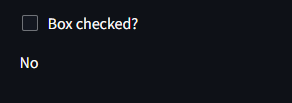
These include checkboxes, radio buttons, toggle buttons, and dropdown windows.
checked = st.checkbox('Box checked?')
if checked: st.write('Yes')
else: st.write('No')
Slider
st.slider("Slider Label", # short caption to display with slider
            min_value=0, # minimum permitted value
            max_value=100, # maximum permitted value
            value=25, # starting value upon render, otherwise defaults to min_value
            key = "step_slider") # unique widget identifier (auto-generated unless specified)

Gif showing slider widget in action
File Uploader
uploaded_files = st.file_uploader("Choose a file", accept_multiple_files=True)
for uploaded_file in uploaded_files:
    bytes_data = uploaded_file.read()
    st.write("filename:", uploaded_file.name)
This will display the following after selecting file app.py with the
widget:
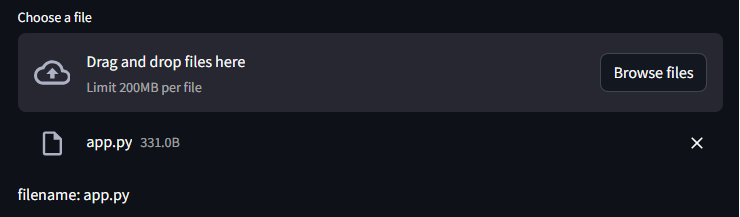
Screenshot showing uploaded file
Data Visualization
Streamlit offers many ways to visualize and interact with data. See data elements and chart elements documentation for the full list and options. Some basic tools are shown below.
Dataframes
Many dataframe types (e.g., pandas, numpy) can be rendered using
st.dataframe(). These are displayed as an interactive table. Static
tables are also available using st.table(). Width and height are
automatically assigned unless specified.
import streamlit as st
import pandas as pd
from sklearn import datasets

iris = datasets.load_iris()
df = pd.DataFrame(iris.data, columns=iris.feature_names)
st.dataframe(df) # same as st.write(df)
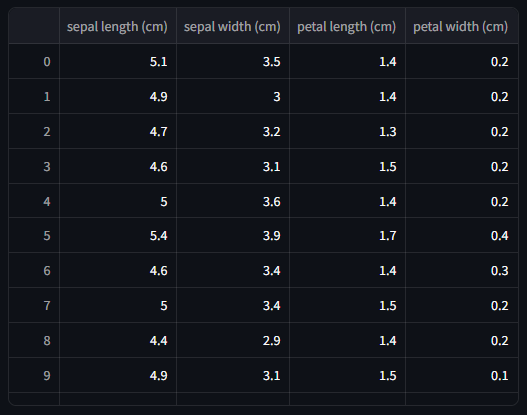
Screenshot showing dataframe
Data Editor
Streamlit also offers a data editor
widget
to enable editable dataframes using st.data_editor(). Editable data
is rendered into a table-like UI. Columns can be customized with
st.column_config (see
documentation).
Note: st.data_editor() offers a num_rows option that enables
users to add or delete rows on the app. The default value for
num_rows is fixed (e.g., disabled). If num_rows is set to
dynamic, the user can add or delete rows but loses column sorting
ability.
Note: st.data_editor() also offers a disabled option that
renders the column uneditable so that values are fixed. The disabled
option is disabled by default, allowing editing of values. To disable
editing of specific columns, specify column names for this option (e.g.,
disabled=["columnName"]). Columns that are disabled will NOT
show the following icon:
import streamlit as st
import pandas as pd

# original dataframe
df = pd.DataFrame(
    [
        {"item": "P10 Tips", "count": 4, "category": "General Supply", "stockroom": True},
        {"item": "P200 Tips", "count": 5, "category": "General Supply", "stockroom": True},
        {"item": "P1000 Tips", "count": 3, "category": "General Supply", "stockroom": True},
        {"item": "Goat Anti-Rb AF488", "count": 2, "category": "Antibodies", "stockroom": False},
        {"item": "Donkey Anti-Rat AF647", "count": 3, "category": "Antibodies", "stockroom": False},
    ]
)

# customize dataframe
edited_df = st.data_editor(
    df, # source dataframe
    num_rows="dynamic", # enable addition and removal of rows
    column_config={
        "item": "Item Name", # rename variable/column title
        "count": st.column_config.NumberColumn(
            "Inventory", # rename variable/column title
            help="Number of boxes currently in inventory", # hover-over tooltip
            min_value=1,
            max_value=10, # arbitrary max value for inventory count
            step=1,
            format="%d", # integer format
        ),
        "category": st.column_config.SelectboxColumn(
            "Category",
            options=[ # dropdown options
                "General Supply",
                "Antibodies",
                "Enzymes",
            ],
        ),
        "stockroom": st.column_config.CheckboxColumn(
            "Stockroom", # rename variable/column title
            help="Can be purchased from stockroom?", # hover-over tooltip
        ),
    },
    disabled=["item", "stockroom"], # column names listed here will disable value editing
    hide_index=True,
)

low_inventory = edited_df.loc[edited_df["count"] <= 3]["item"]
need_inventory = low_inventory.tolist()
new_line = "  \n"

st.write(f"The following items have LOW INVENTORY (less than 3 units left):  \n  \n {new_line.join(need_inventory)}")
A gif showing dataframe editing
A gif showing dataframe editing
A gif showing dataframe editing
Plots
Streamlit offers many ways to plot data. Streamlit offers simple
“native” commands (e.g., st.scatter_chart()) and supports many
charting libraries (see
documentation).
Supported libraries include
Matplotlib,
Altair,
Plotly,
Bokeh, and more.
An example is shown below using the same iris dataset from above.
import matplotlib.pyplot as plt

fig, ax = plt.subplots()

scatter = ax.scatter(iris.data[:, 0], iris.data[:, 1], c=iris.target)

ax.set(xlabel=iris.feature_names[0], ylabel=iris.feature_names[1])
ax.legend(scatter.legend_elements()[0], iris.target_names, loc="lower right", title="Classes")

st.pyplot(fig)
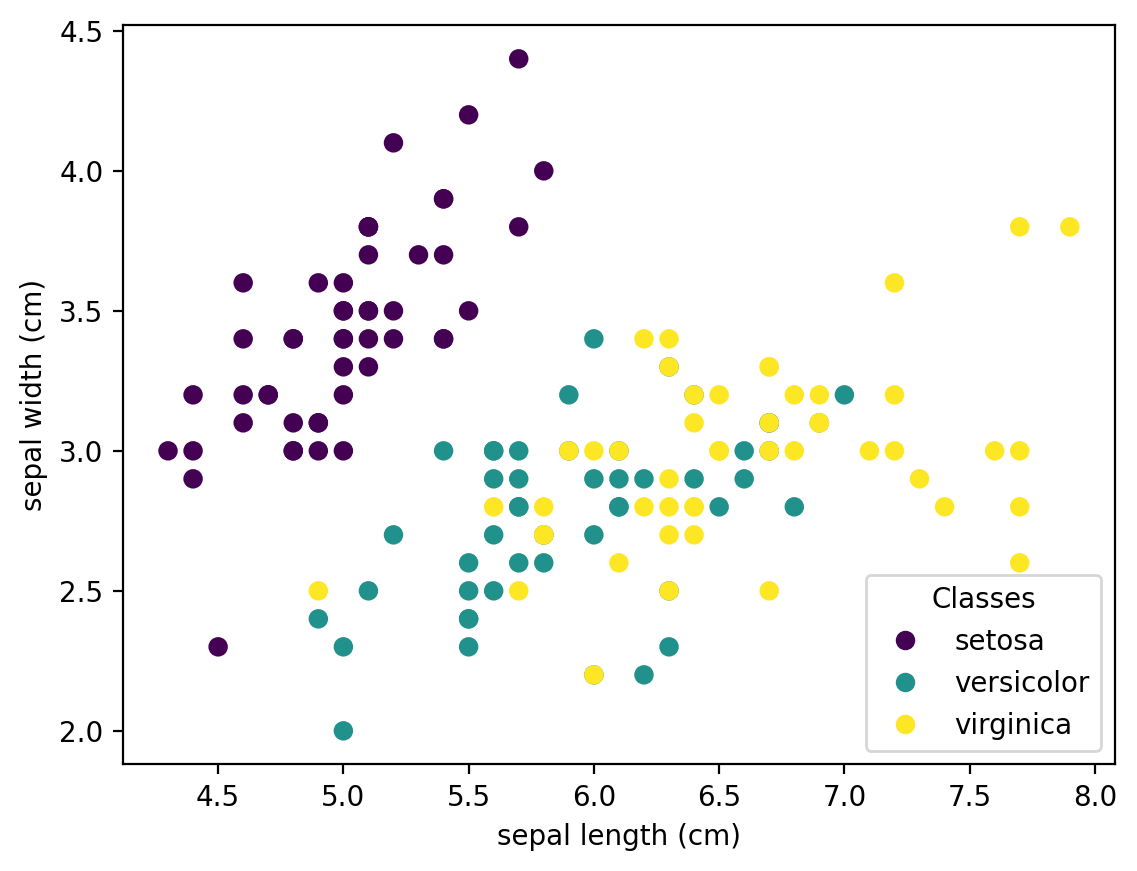
Screenshot showing scatter plot of dataframe
Chat Elements
Streamlit offers chat elements that can be applied to develop powerful conversational AI tools. See documentation on chat elements and session state for more details. Session state will store chat history inside the user session. Streamlit also supports more mature, third-party elements for advanced chatting capabilities.
Built-In Chat
A basic chat box is shown below.
Using st.chat_input() will provide a chat input widget where the
user can type in a message. The returned value of this widget will be
the user’s input. See more details
here.
import streamlit as st

prompt = st.chat_input("Say something")
if prompt:
    st.write(f"User has sent the following prompt: {prompt}")
Screenshot showing chat box
Using st.chat_message() will render a message container (similar to
“text bubbles”) that can return any Streamlit element using the with
notation. st.chat_message() requires a name parameter assigning
a name to the message author that cannot be left empty. Default avatars
will be assigned when name is set to user, human,
assistant, or ai. Custom strings and avatars are allowed. See
more details
here.
import streamlit as st

with st.chat_message("assistant"): # same avatar as "ai"
    st.write("Hello 👋")

with st.chat_message("user"): # same avatar as "human"
    st.write("Hello 👋")

with st.chat_message("dinobot", avatar="🦖"): # custom name and avatar
    st.write("Hello 👋")
Screenshot showing different chat avatars
The following code example is equivalent to the one above but does not
use the preferred with notation.
import streamlit as st

message = st.chat_message("dinobot", avatar="🦖")
message.write("Hello 👋")
A chat bot can now be created by combining st.chat_message(),
st.chat_input(), and session state. The following code is a
simple chatbot GUI example that provides a skeleton for more
sophisticated chatbots. These can also be enhanced to create a
ChatGPT-like
experience
using OpenAI and Streamlit
secrets.
import streamlit as st
import random # randomly select from a list of responses provided below
import time # adds delay to simulate chatbot "thinking" before responding

st.title("Simple Chatbot")

# Initialize chat history
if "messages" not in st.session_state:
    st.session_state.messages = []

# Display chat messages from history on app rerun (but resets when refreshing app window)
for message in st.session_state.messages:
    with st.chat_message(message["role"]):
        st.markdown(message["content"])

# Accept user input
if prompt := st.chat_input("What is up?"): # `:=` operator assigns user input and checks if it's not `None`
    # Display user message in chat message container
    with st.chat_message("user"):
        st.markdown(prompt)
    # Add user message to chat history
    st.session_state.messages.append({"role": "user", "content": prompt})

# Display assistant response in chat message container
with st.chat_message("assistant"):
    message_placeholder = st.empty()
    full_response = ""
    assistant_response = random.choice(
        [
            "Hello there! How can I assist you today?",
            "Hi, human! Is there anything I can help you with?",
            "Do you need help?",
        ]
    )
# Simulate stream of response with milliseconds delay
    for chunk in assistant_response.split():
        full_response += chunk + " "
        time.sleep(0.05)
        # Add a blinking cursor to simulate typing
        message_placeholder.markdown(full_response + "▌")
    message_placeholder.markdown(full_response)
# Add assistant response to chat history
st.session_state.messages.append({"role": "assistant", "content": full_response})
A gif showing the simple chatbot gui in action
Third-Party Chat
Streamlit highlights many third-party features developed by users in the Streamlit Community, including st-chat which provides an alternative chatbot UI. PolusAI uses this interface as the framework to build the Ask Athena bots.
To use st-chat, install the package into the conda environment using the
terminal by typing pip install streamlit-chat. After successful
installation, import the message function from streamlit_chat
inside your app.py file.
import streamlit as st
from streamlit_chat import message
Chat messages can be displayed using message(). Passing the argument
is_user = TRUE will align the message to the right and assign a
separate avatar.
message("Hello User. I am a bot.")
message("Hello bot!", is_user=True)
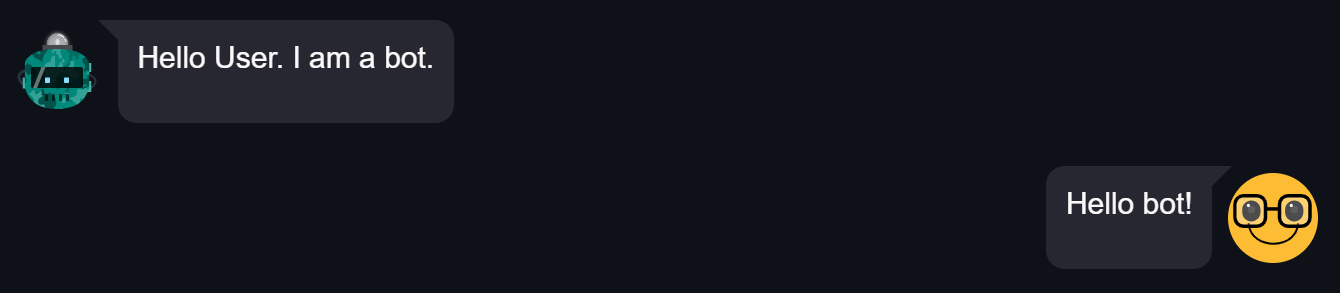
A screenshot of simple messages using st-chat
Session states are usually initialized as empty lists (i.e., []). If
you would like to preload messages into the session history, these
messages can be inserted into the corresponding session state using
default = ['string 1', 'string 2'].`
# initializes values in session state
st.session_state.setdefault("generated", default=[])
st.session_state.setdefault("past", default=[])
Combining additional third-party components, such as
streamlit.components.v1, messages can also integrate HTML.
from streamlit.components.v1 import html
The following example incorporates HTML, starts the session with pre-defined messages, and preloads these messages into the chat window upon initializing the app.
# define example variables
img_path = "https://www.groundzeroweb.com/wp-content/uploads/2017/05/Funny-Cat-Memes-11.jpg"
youtube_embed = '''
<iframe width="400" height="215" src="https://www.youtube.com/embed/LMQ5Gauy17k" title="YouTube video player" frameborder="0" allow="accelerometer; encrypted-media;"></iframe>
'''

# pre-define user input messages as an example to be preloaded in chat history
st.session_state.setdefault(
    'past',
    ['show me a funny cat meme',
     'and a funny cat video']
)

# pre-define bot response messages as an example to be preloaded in chat history
st.session_state.setdefault(
    'generated',
    [{'type': 'normal', 'data': f'<img width="100%" height="200" src="{img_path}"/>'},
     {'type': 'normal', 'data': f'{youtube_embed}'}]
)

# create chat window placeholder
chat_placeholder = st.empty()

# preload pre-defined messages in session state history inside chat window
with chat_placeholder.container():
    for i in range(len(st.session_state['generated'])):
        # output user input
        message(st.session_state['past'][i], is_user=True, key=f"{i}_user")
        # output bot output
        message(
            st.session_state['generated'][i]['data'],
            key=f"{i}",
            allow_html=True,
            is_table=True if st.session_state['generated'][i]['type']=='table' else False
        )
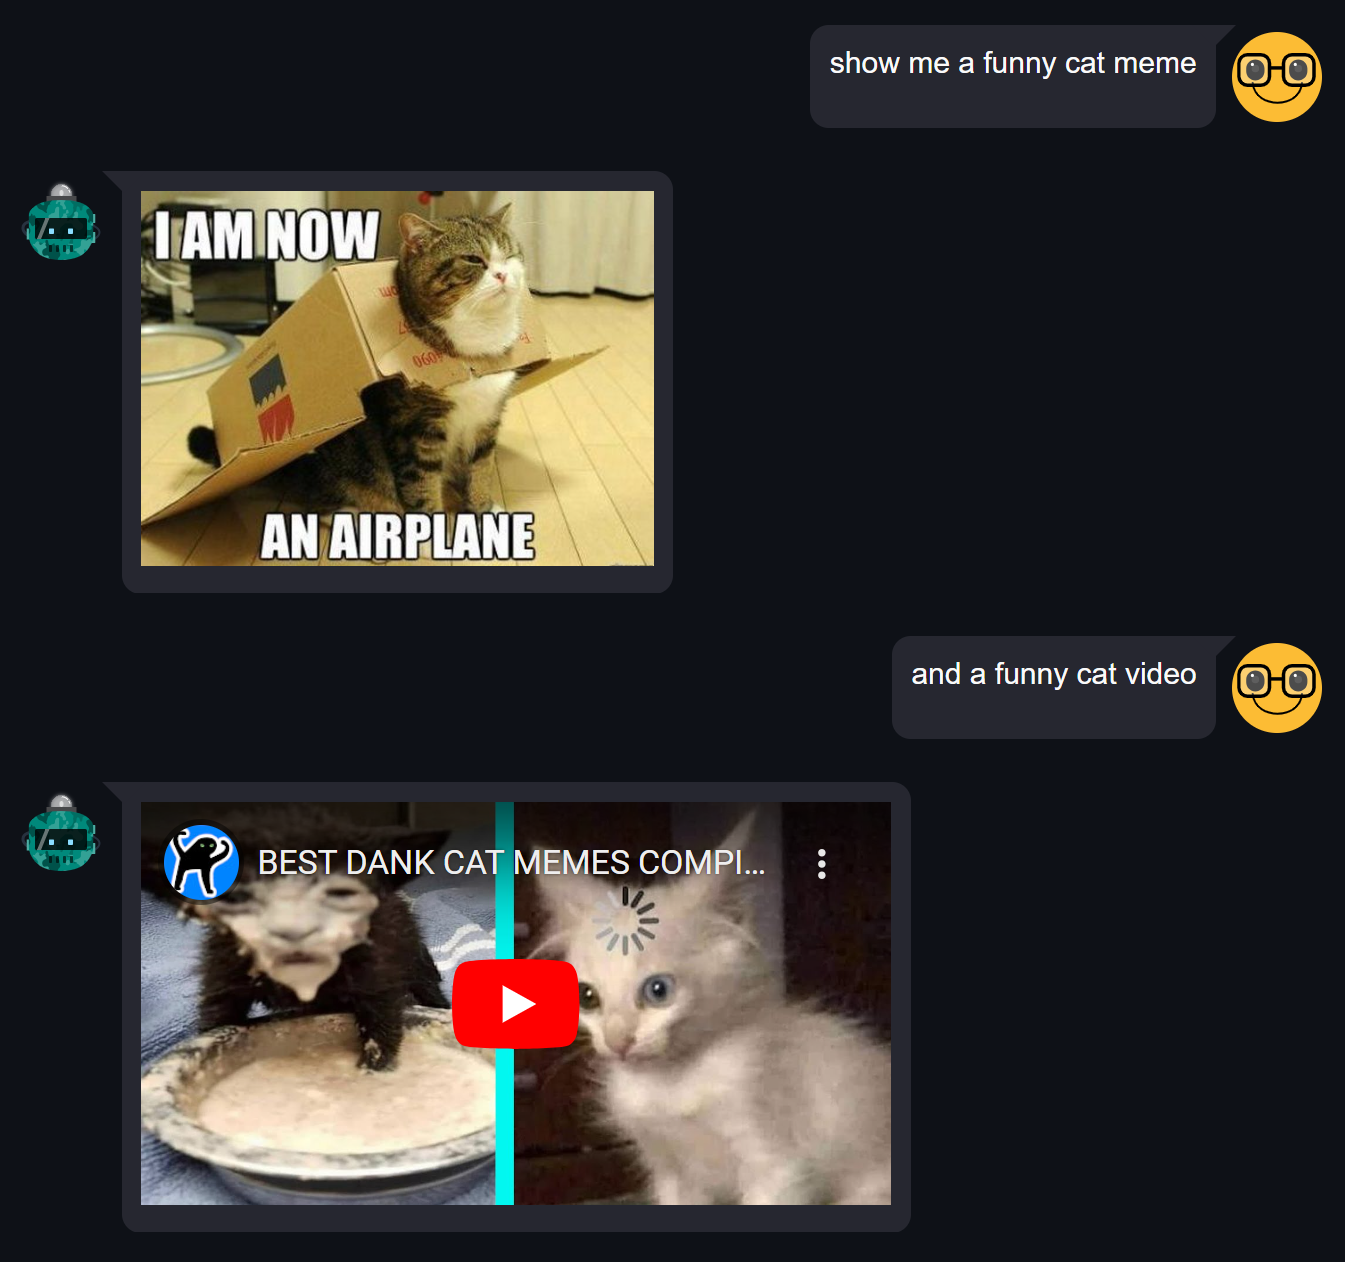
A screenshot of preloaded chat using st-chat