Installing new packages
Predefined Environments should already include most of the scenarios, but they cannot possibly include all existing libraries, so you might want to install something necessary for your research.
There are generally 3 ways to install new packages in Polus Notebooks:
Temporary installation using
baseconda environment. Open Terminal and run installation commands. Base environment is activated by default. Please, keep in mind that base environment only comes with Python by default, so if you would like to install R, Julia, Java or Octave packages, you need to install it first. Any changes done to the base environment will be lost after the server is shut down. Use this method for quickly checking something, for more long-term project, please utilize the next methodUser-defined Conda environment is a workaround to create user-defined and editable environments that persist the server restarts.
Creating environment
Open Terminal
Create folder for storing conda environment in your persistent storage:
mkdir -p work/my-conda-envs/my-test-env.my-test-envcould be any name you like.Create Conda environment with packages you’d like
mamba create -y --prefix work/my-conda-envs/my-test-env python=3.10 pip ipykernel numpy scipy. Alternatively, create a conda environment.yaml file with the list of packages: https://carpentries-incubator.github.io/introduction-to-conda-for-data-scientists/04-sharing-environments/index.html and install withmamba env create --prefix work/my-conda-envs/my-test-env --file environment.yaml. In either case, make sure to includeipykernelin the list of dependencies.Rename environment folder so it does not clash with ipykernel:
mv /home/jovyan/work/my-conda-envs/my-test-env/share/jupyter/kernels/python3 /home/jovyan/work/my-conda-envs/my-test-env/share/jupyter/kernels/my-test-envAdd your kernel to the list of kernels:
/home/jovyan/work/my-conda-envs/my-test-env/bin/python -m ipykernel install --user --name my-test-env --display-name "My Test Environment". Kernel will appear in Launcher. Unfortunately, you would have to re-run this command every time you login to Notebooks to get access to your kernel.
Activating environment Open Terminal and run
conda activate /home/jovyan/work/my-conda-envs/my-test-envand then run any required conda commands:conda install ...
This method is good for medium-term development, but if you find yourself needing to share the Conda environment, please consider the next method.
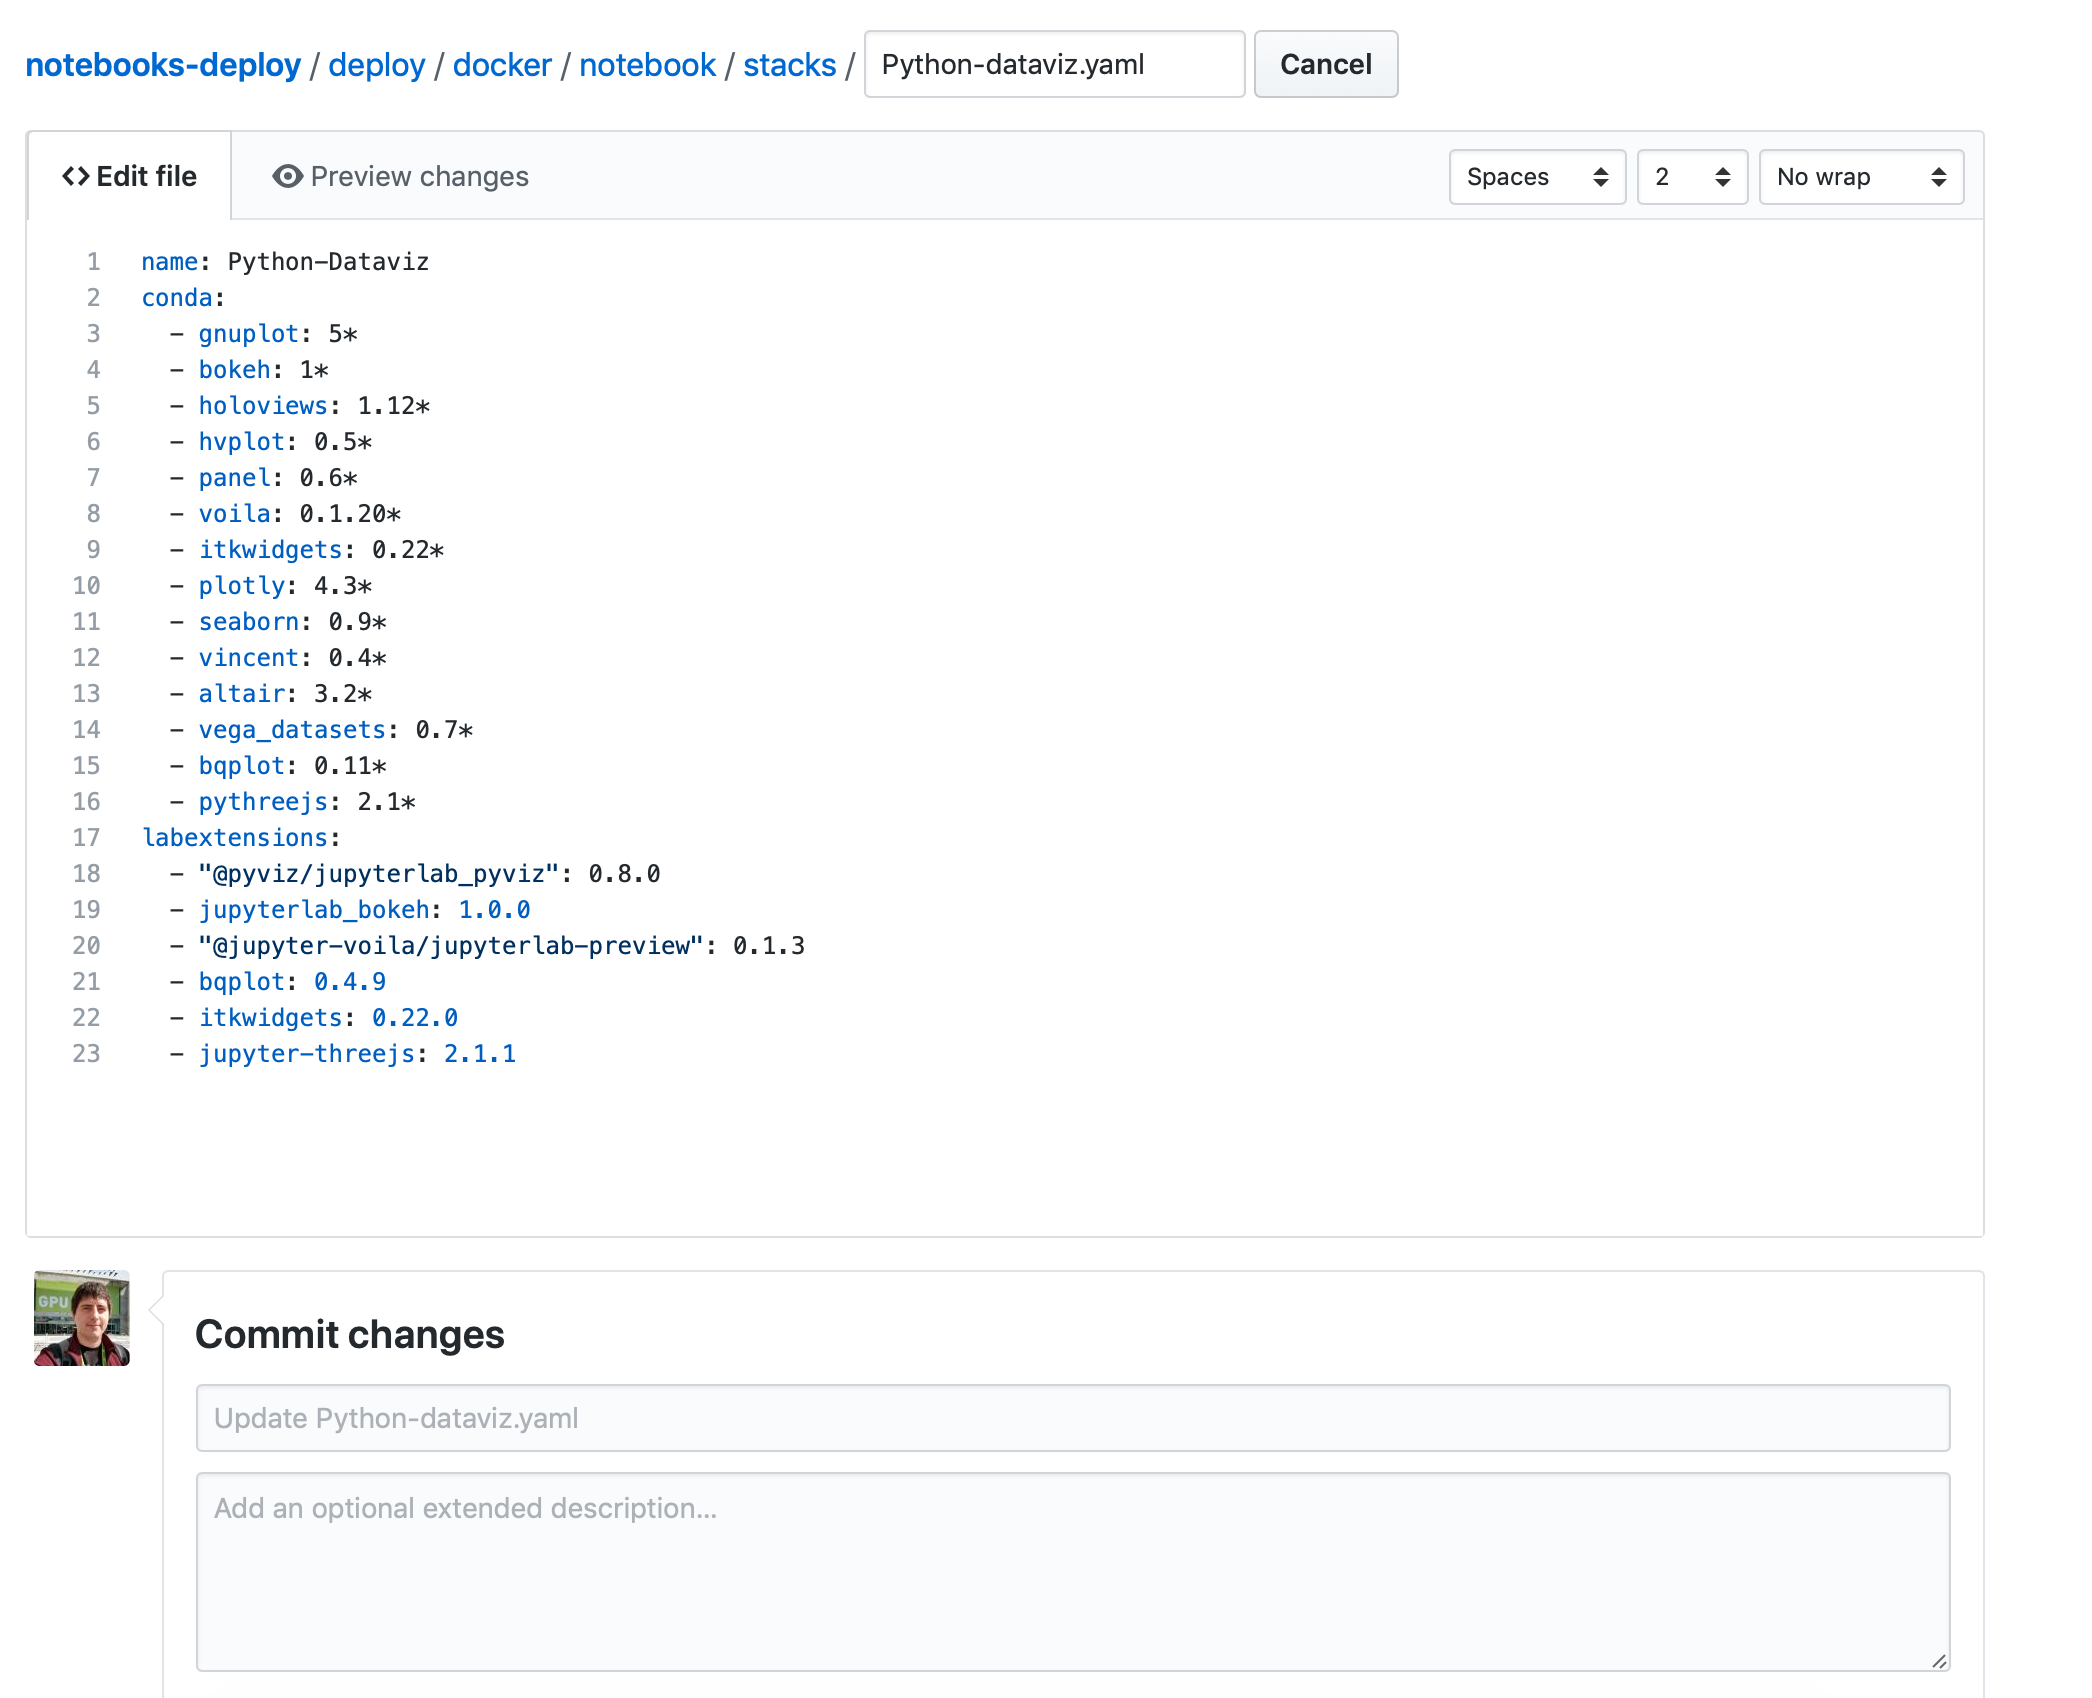
Create new or update existing Environment. There are multiple actions involved into creating or updating the Environment, but it often boils down to creating Conda environmnet YAML
Tips for different languages/package managers
Python 3
Python packages are managed with conda package manager. You can use
both conda or pip to install and update new packages
With conda
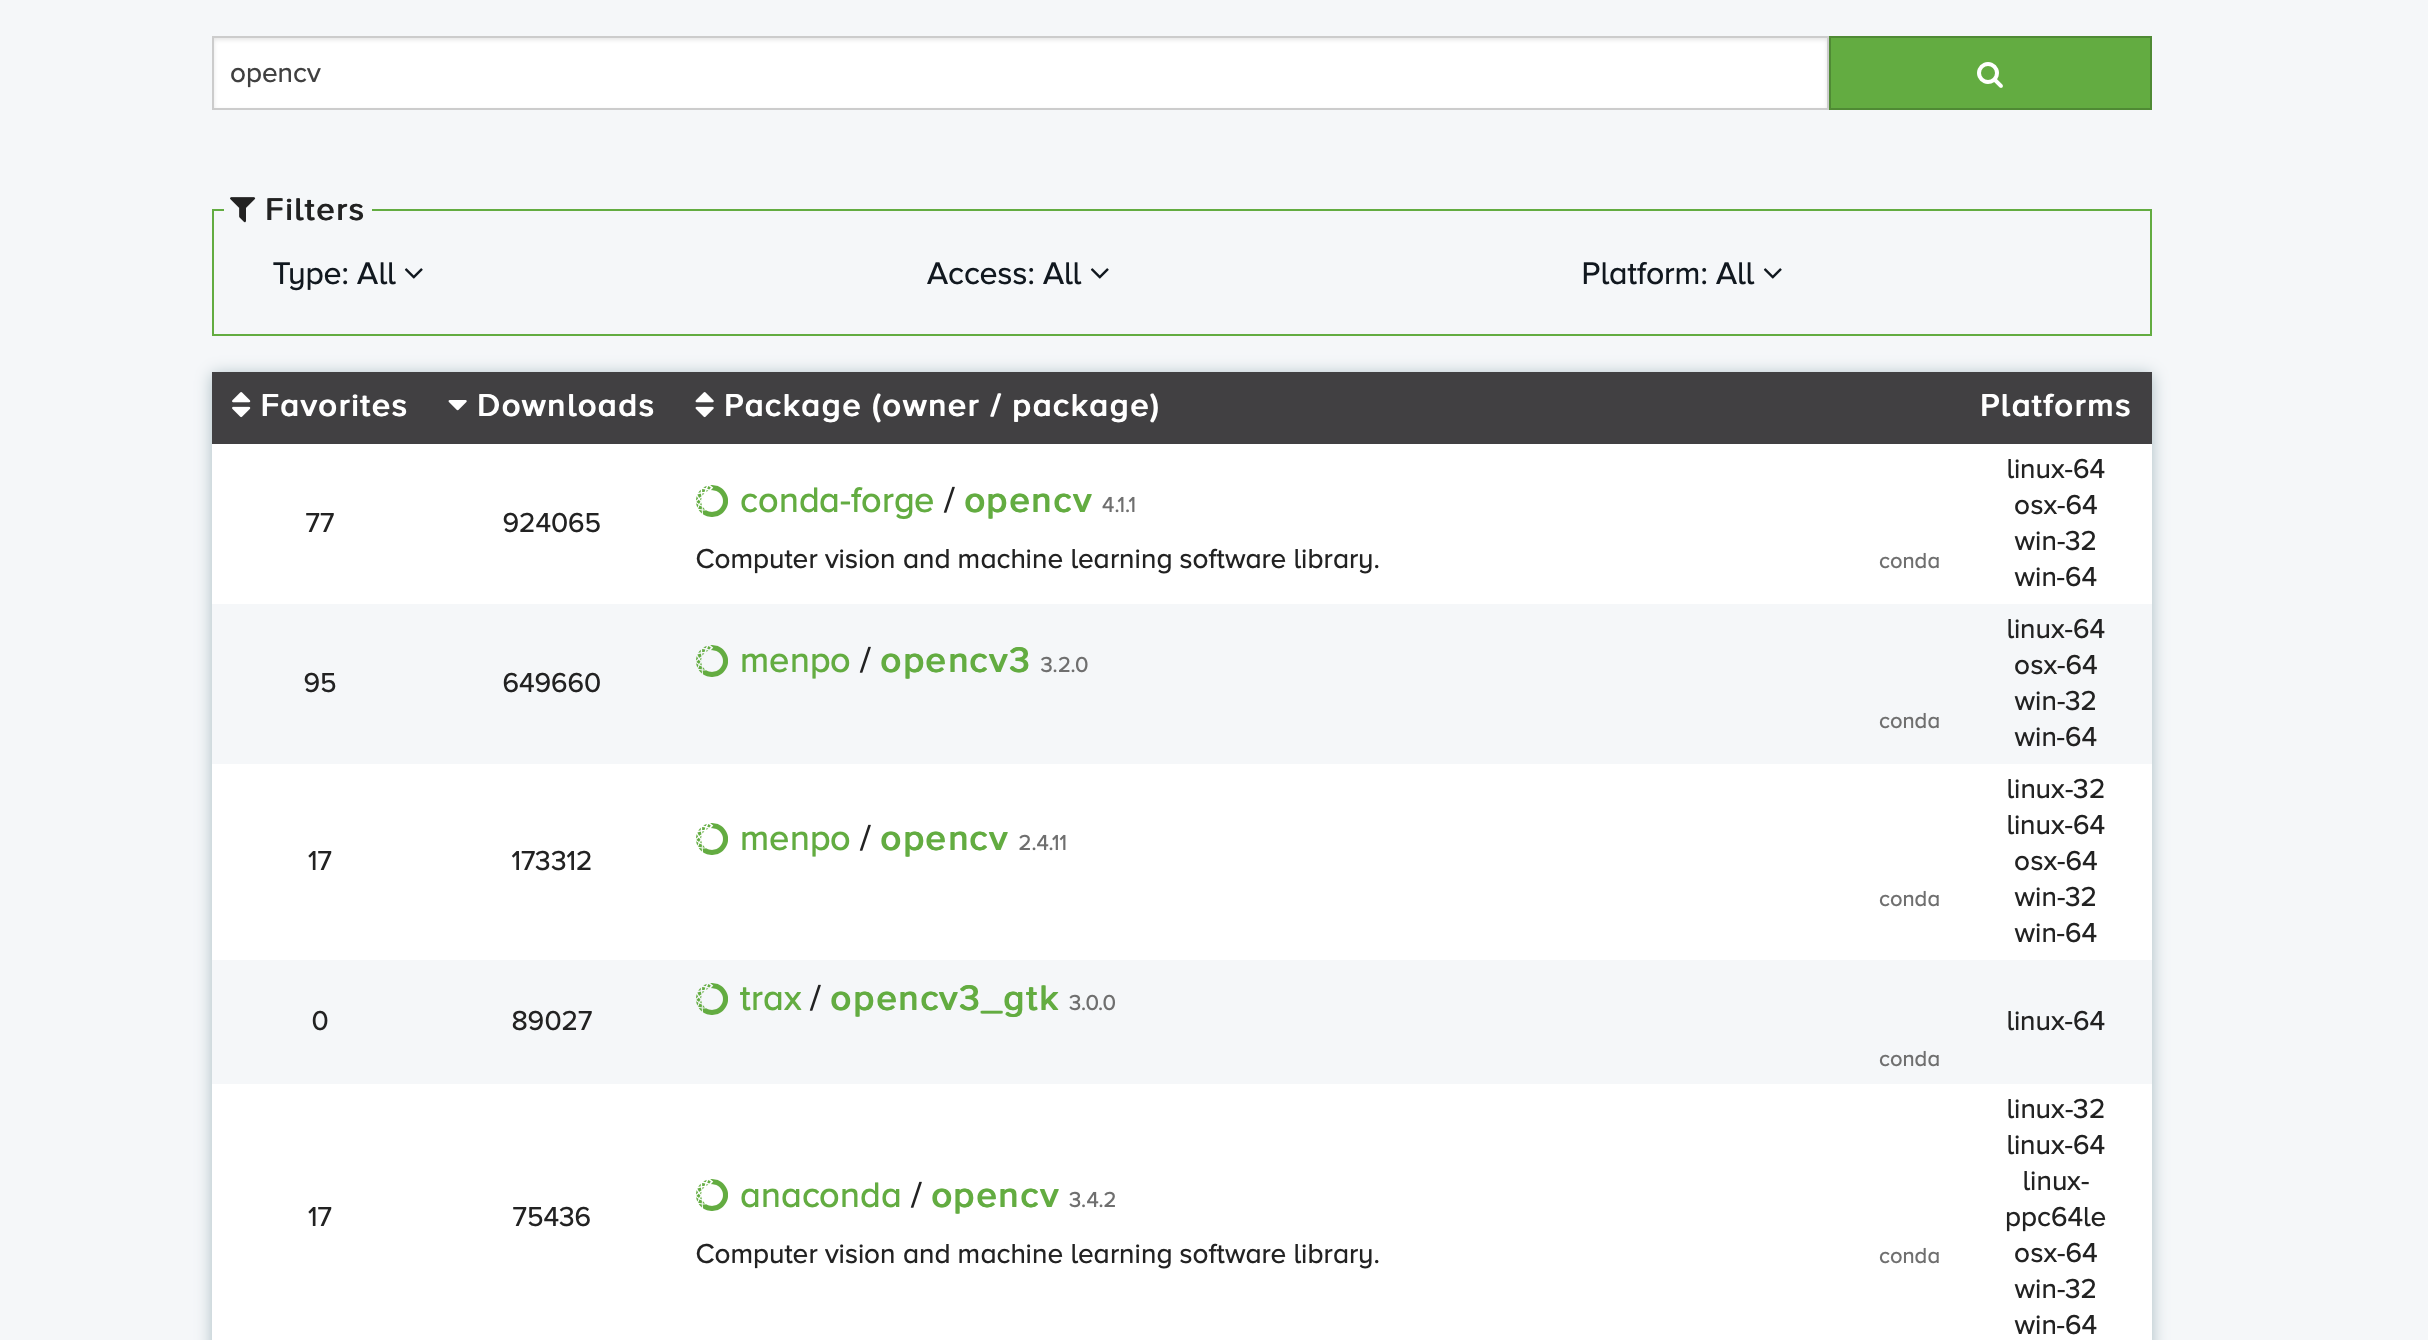
Use Anaconda Cloud to search for package you are interested in

anaconda_cloud_1
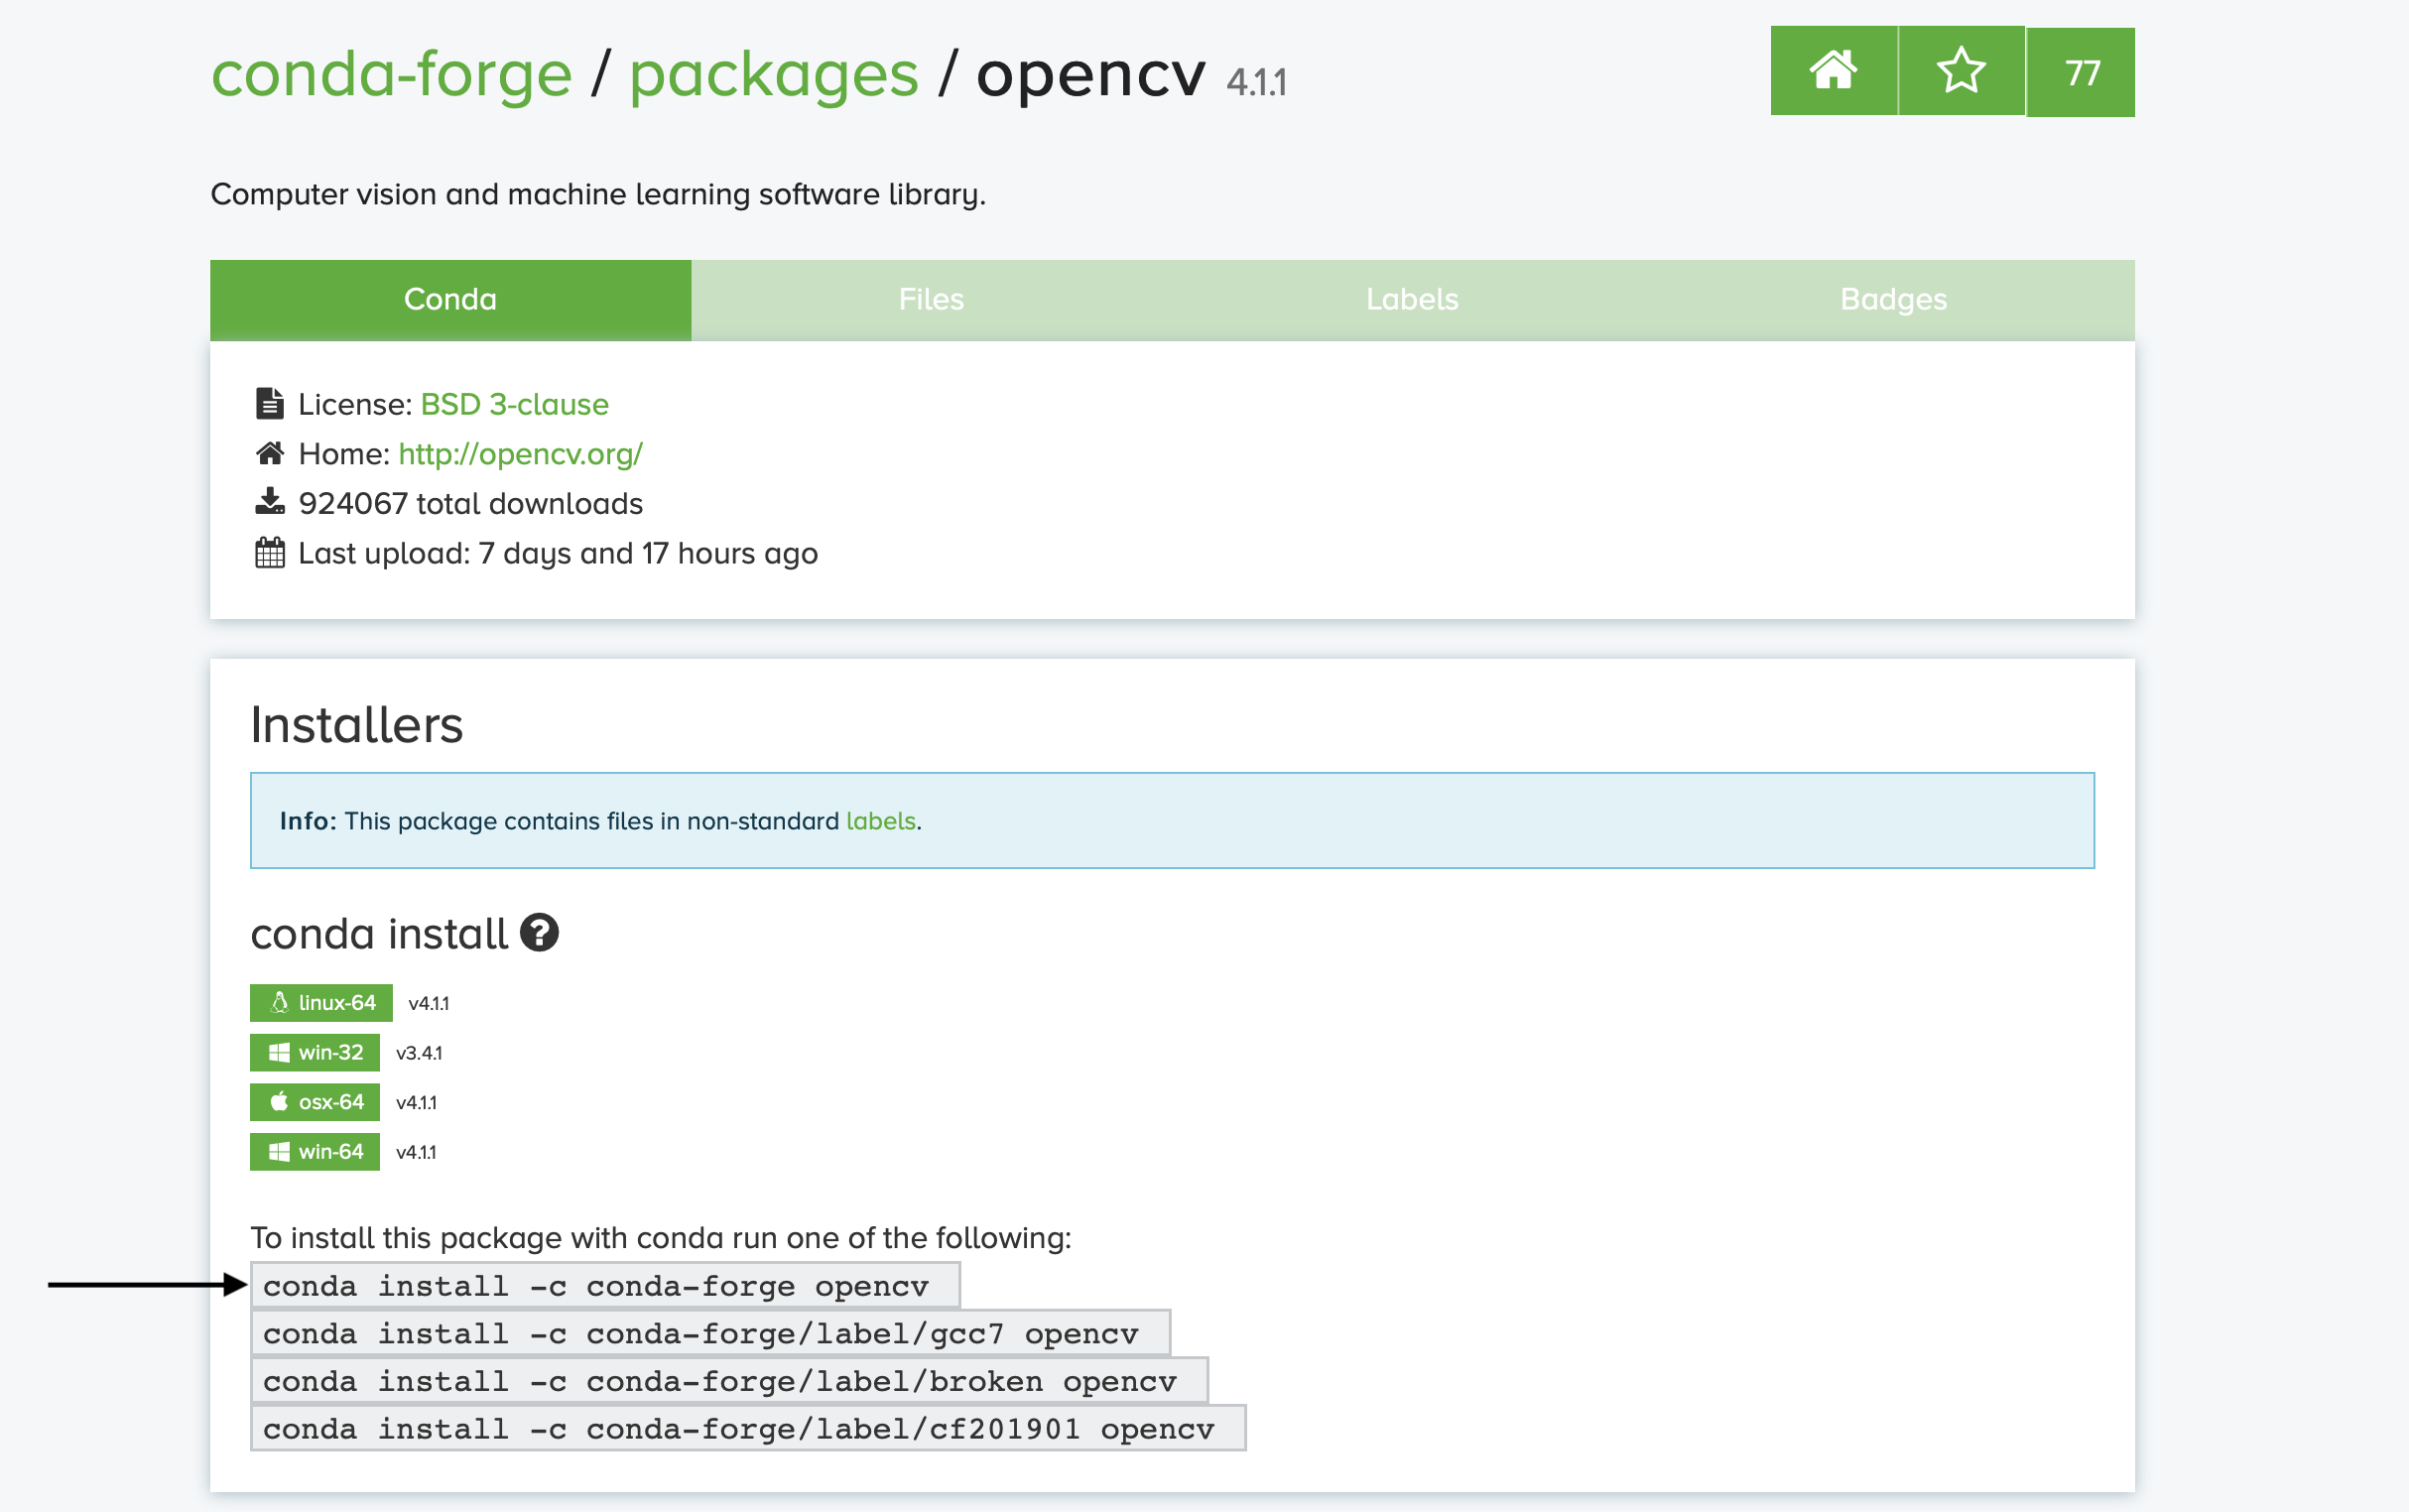
Choose the package you are looking for. Most of the community packages are published through
conda-forgeaccount
anaconda_cloud_2
Copy the install command and paste it to the notebook cell
anaconda_cloud_3
You have to append --yes to the end of the command
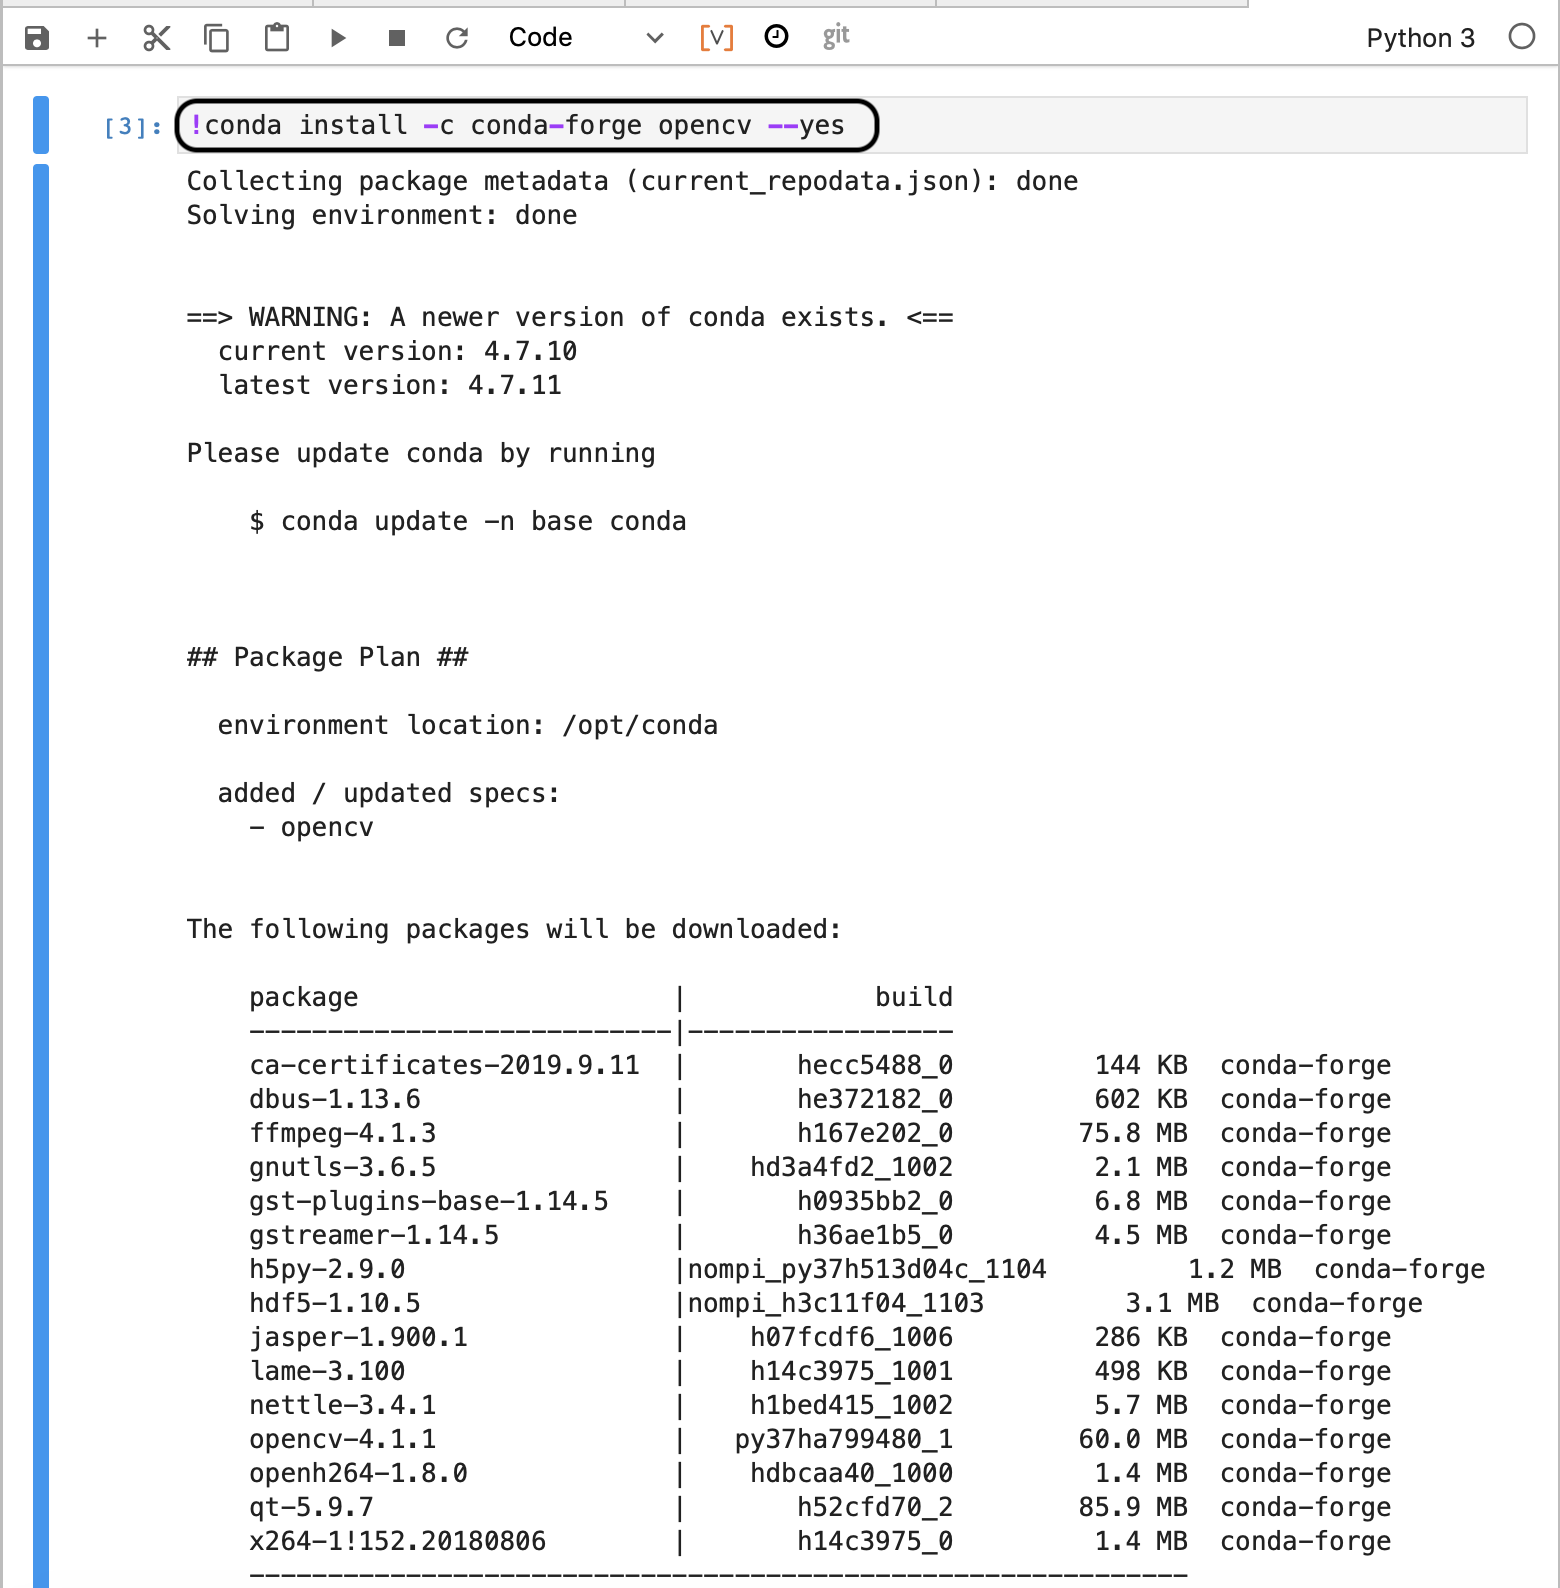
anaconda_cloud_4
With pip
Use Python Package Index (PyPi) to search for package you are interested in
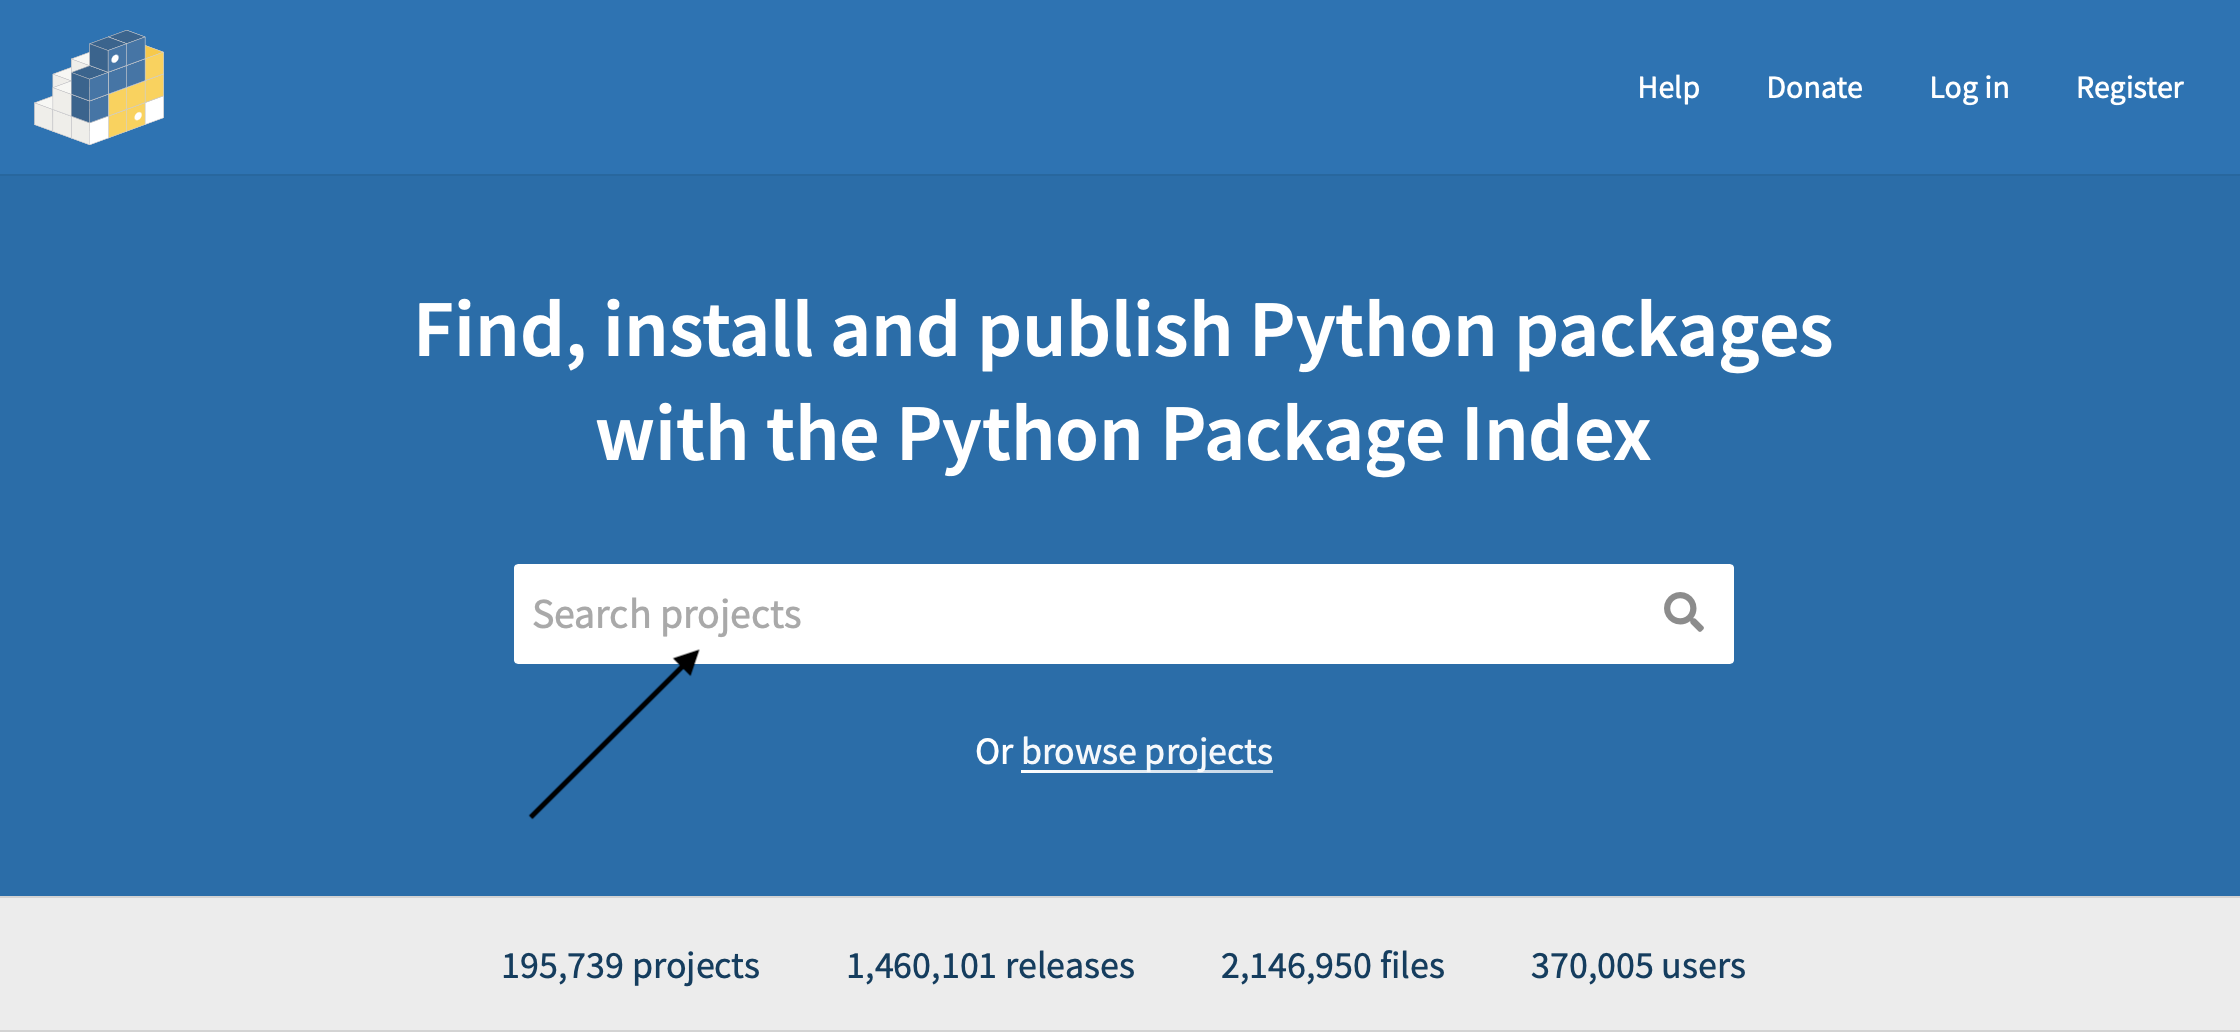
pypi_1
Choose the package you are looking for.
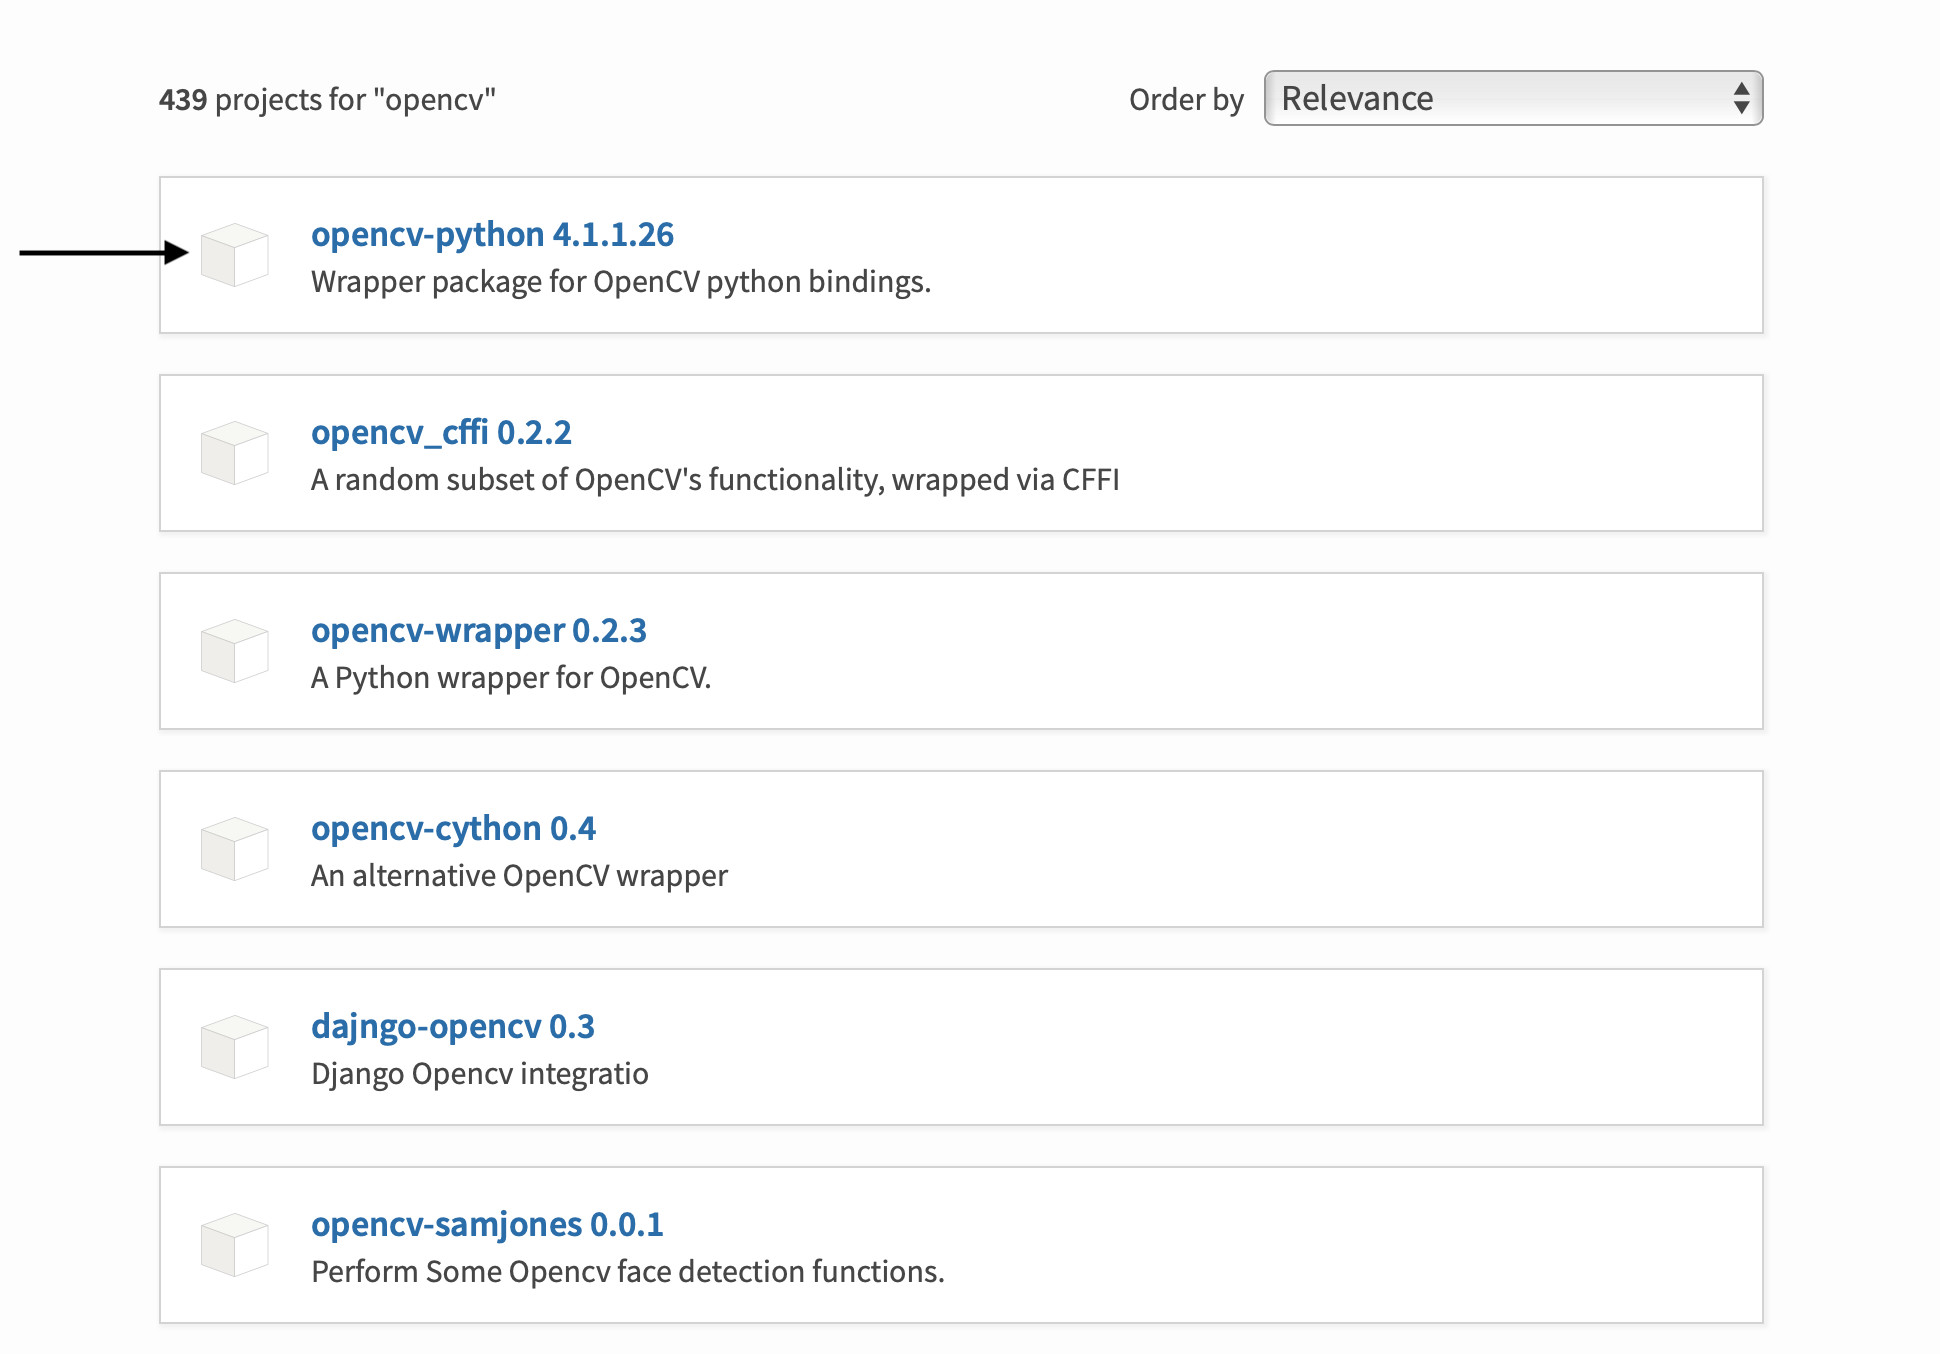
pypi_2
Copy the install command and paste it to the notebook cell
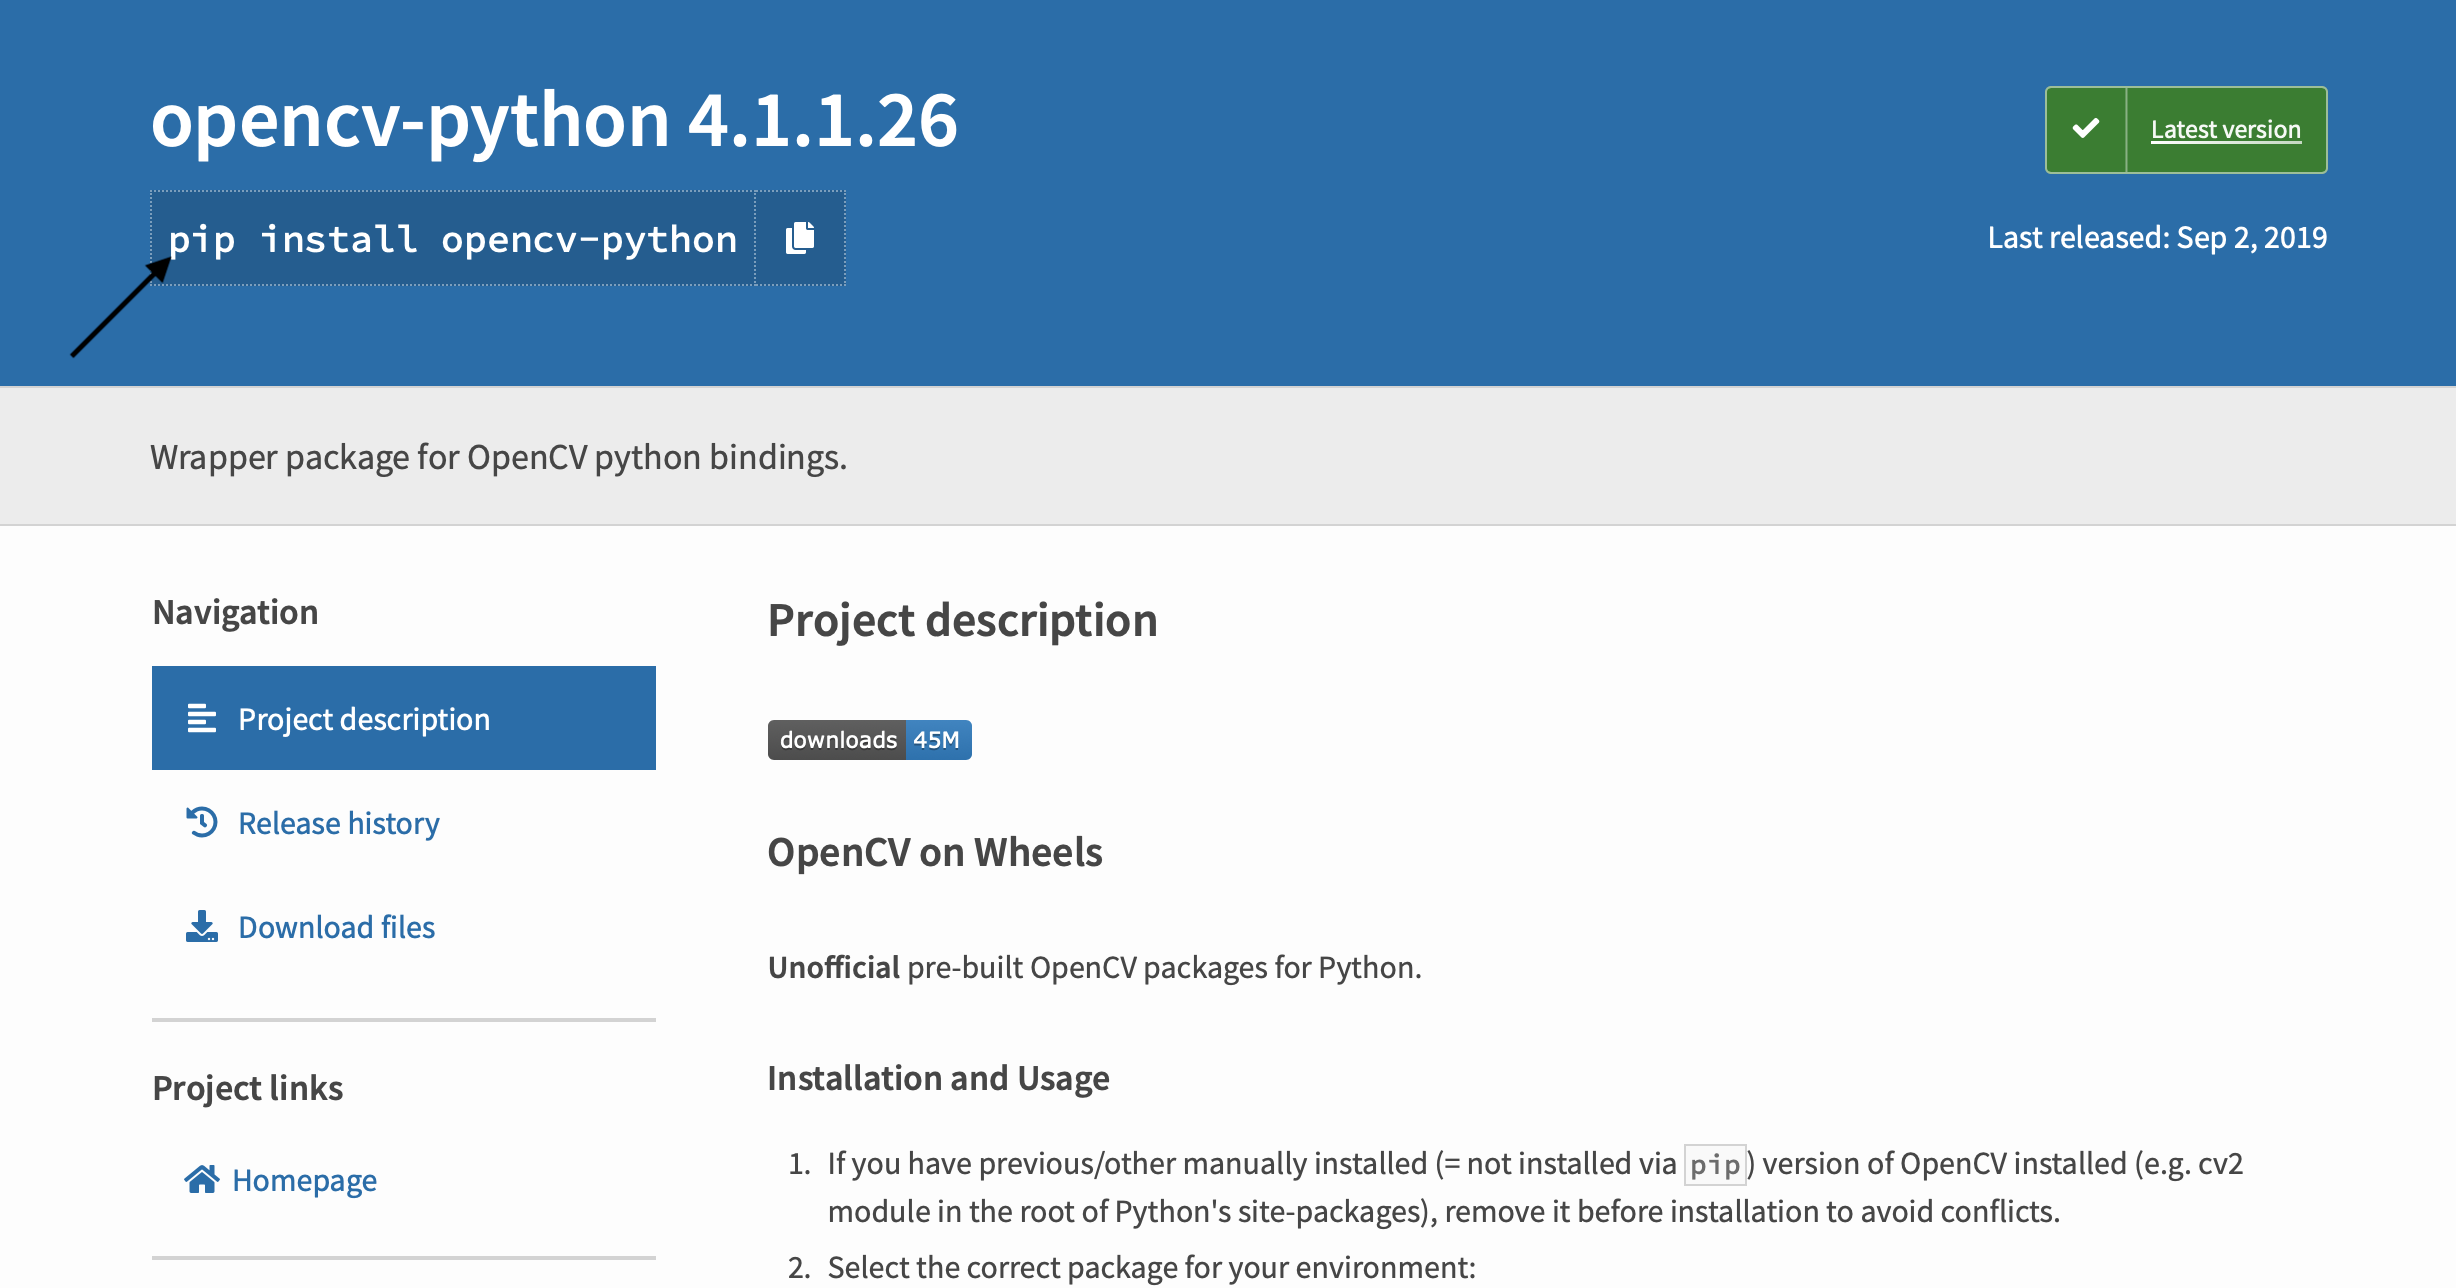
pypi_3
You have to use exclamation mark before the command to let Jupyter know that this is shell command

pypi_4
You can specify the version to install using =<version> afer name of
the package
!pip install opencv-python=4.1.1.26
R
You can use both conda or R to install and update new packages
With Anaconda
Use Anaconda Cloud to search for R packages you are interested in
anaconda_cloud_1
Choose the package you are looking for. Many R packages are published through
r/orconda-forge/repos and their names start withr-
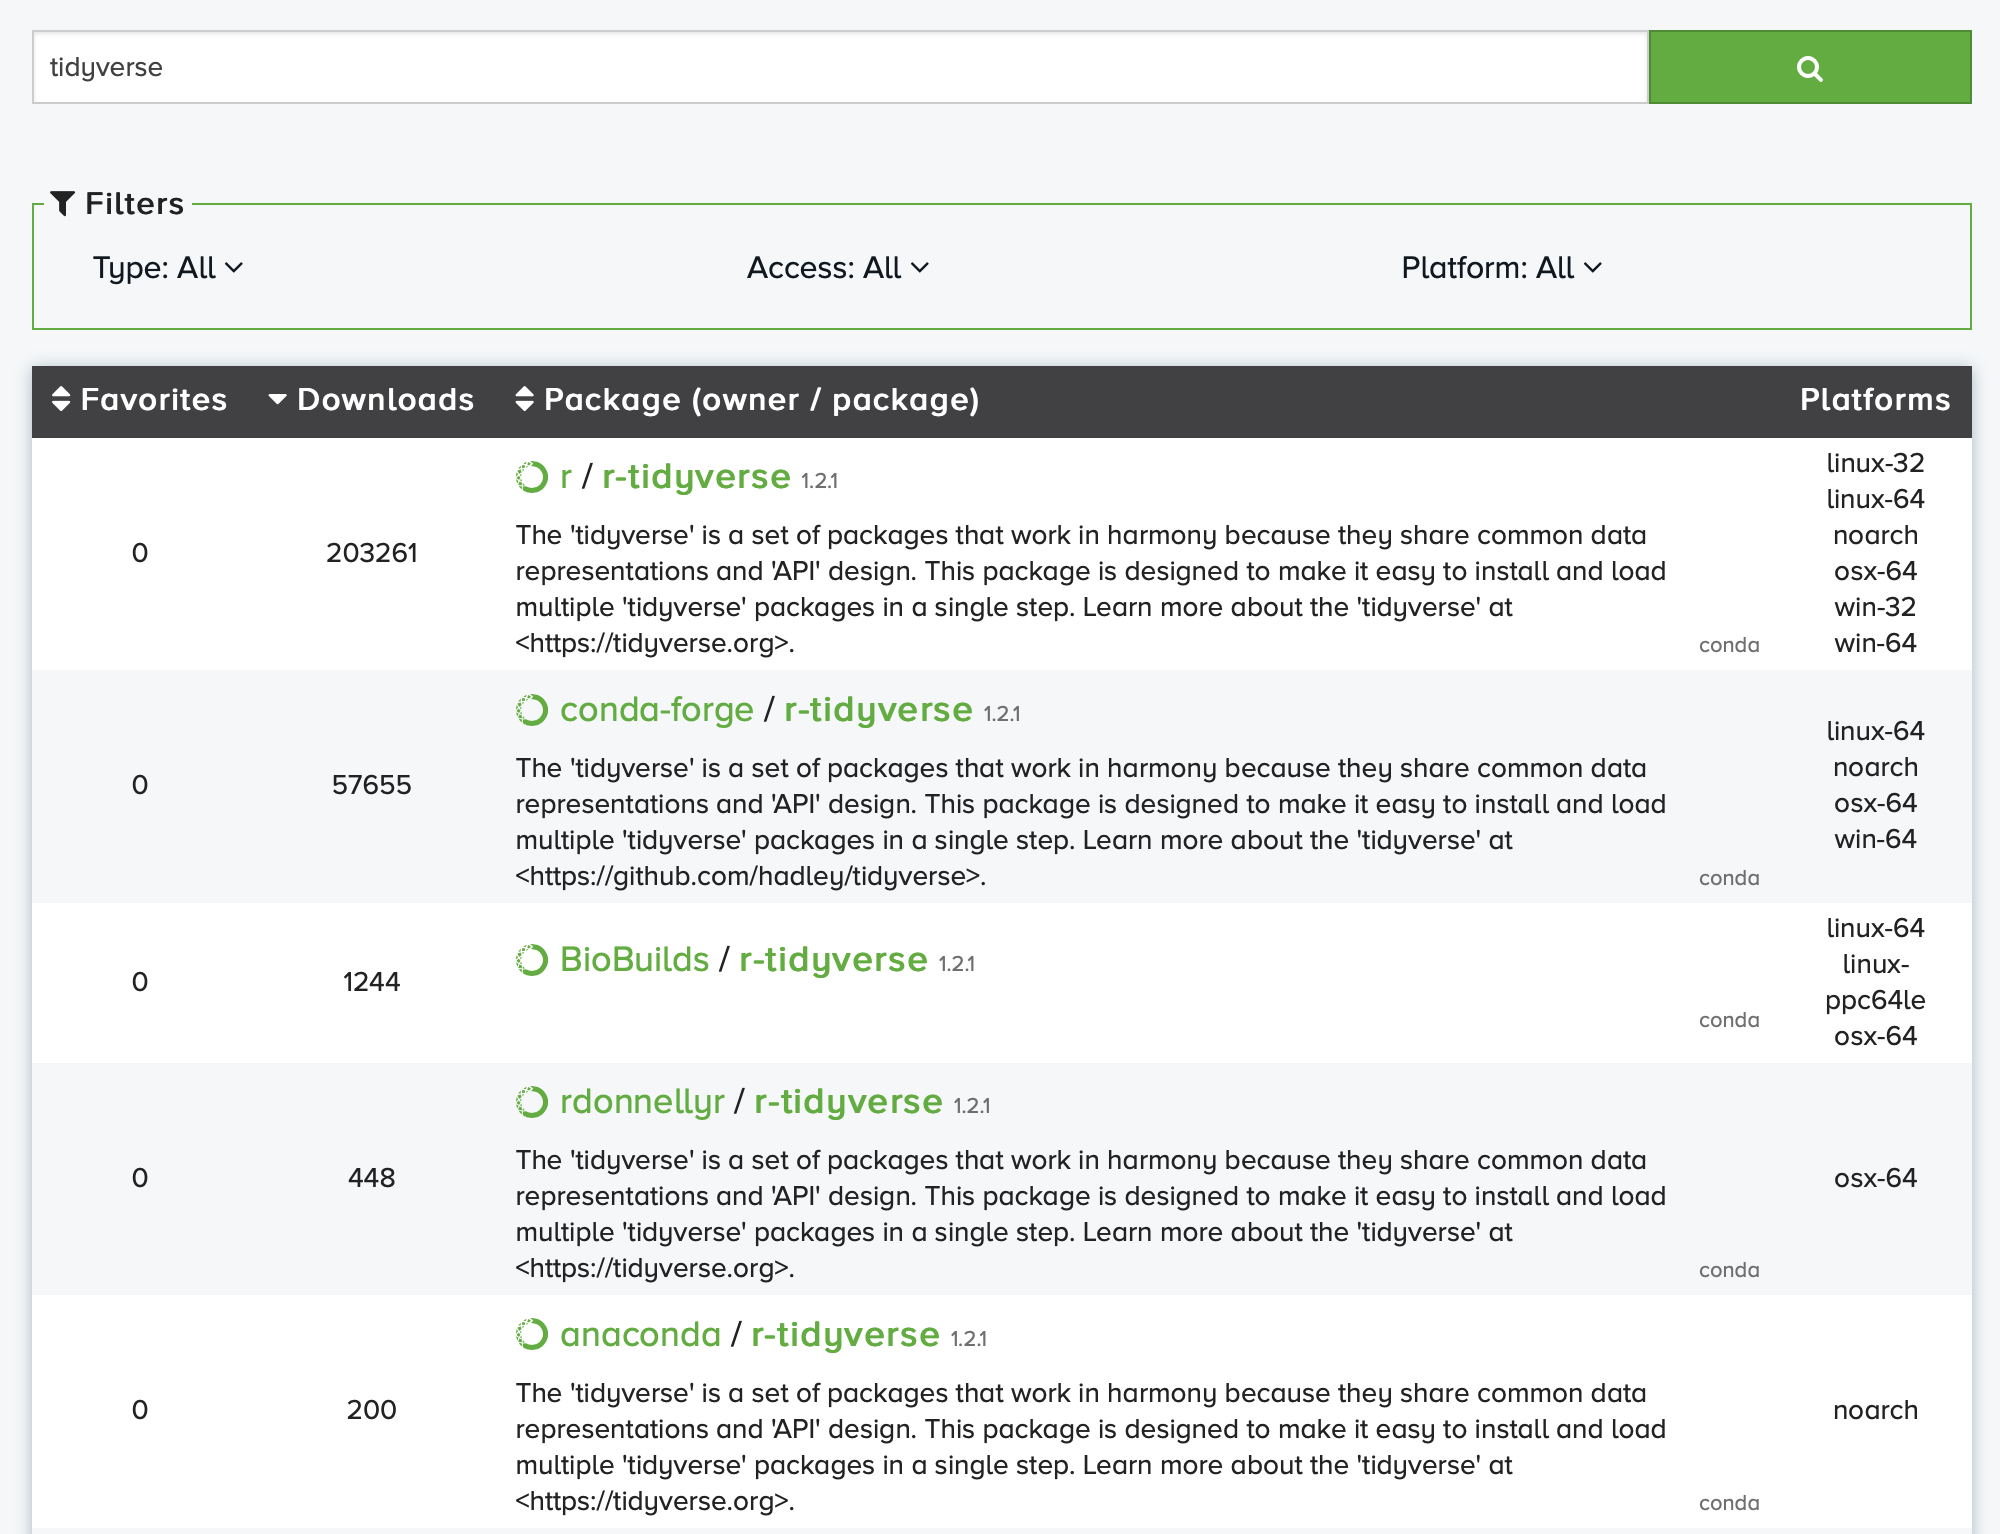
r_anaconda_cloud_
Copy the install command and paste it to the notebook cell

r_anaconda_cloud_3
You have to append --yes to the end of the command
system("conda install -c r r-tidyverse --yes", intern=TRUE)
From CRAN
Install packages from CRAN-like repositories or from local files using
install.packages("<PACKAGE_NAME>") command
install.packages("tidyverse")
More documentation on install.packages available here:
https://www.rdocumentation.org/packages/utils/versions/3.6.1/topics/install.packages
Julia
Install packages using Pkg as shown below
using Pkg
Pkg.add("CSV")
then load them with using statement:
using CSV
Java
You can add maven dependencies at runtime using magic command
%maven. Full list of supported magic commands is
here.
%mavenRepo scijava.public https://maven.scijava.org/content/groups/public
%maven net.imagej:imagej:2.0.0-rc-71
%maven net.imagej:imagej-notebook:0.7.1
You can search Maven Central for available packages
Octave
Octave Forge is a central location for development of packages for GNU Octave, similar to Matlab’s toolboxes. To install a package, use the pkg command from the Octave prompt by typing:
pkg install -forge package_name
pkg load package_name
C++
C++ does not have a built-in package manager. There are multiple existing package manager and if you are interested we may support one of them in the future.