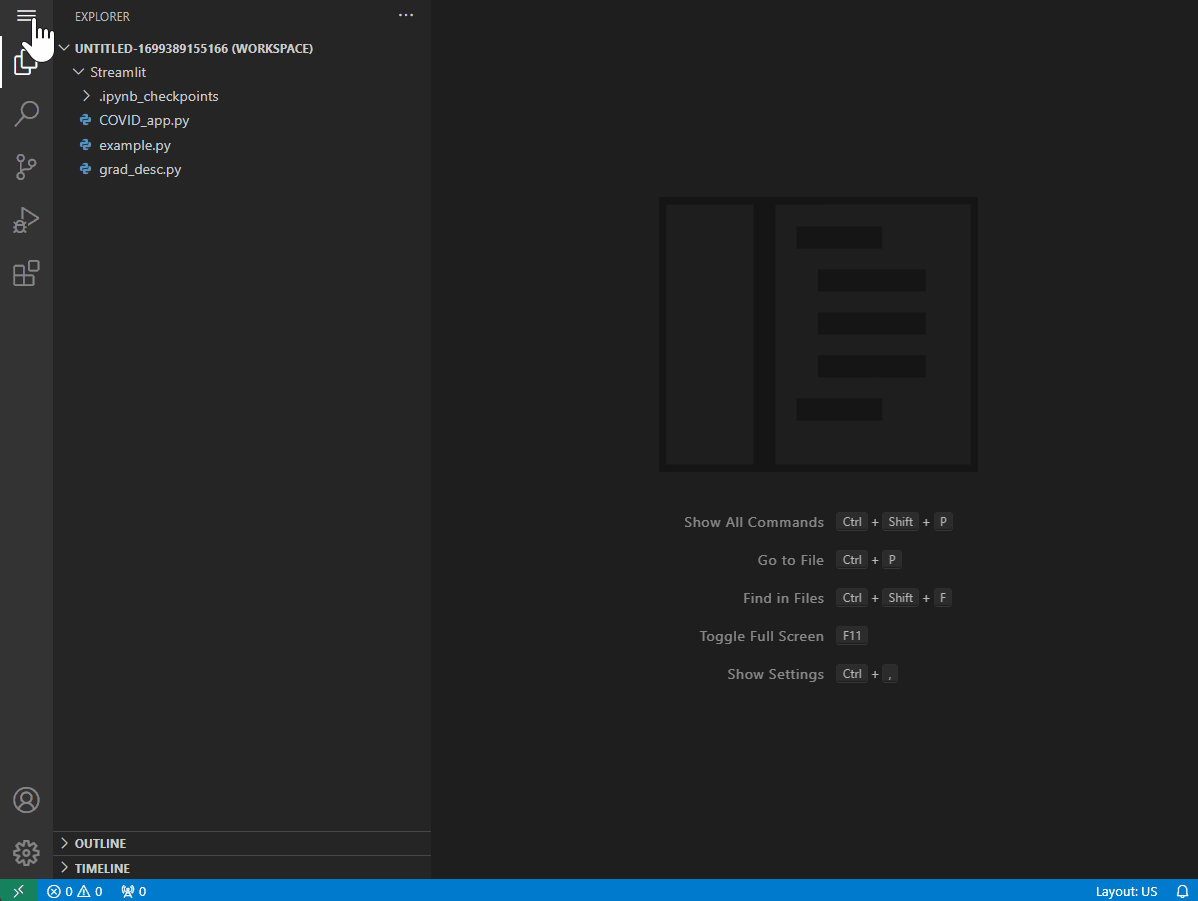
Streamlit
Streamlit is an open-source Python library that makes it easy to create and share beautiful, custom web apps for machine learning and data science. No knowledge of web development is needed to get started. Helpful tips can be found by visiting Streamlit’s Getting Started page. Streamlit also showcases example apps, found in the featured App Gallery.
There are many ways to work with Streamlit, whether through a local server or as a Python module. Streamlit also supports magic commands, a feature that provides convenience by removing the need to explicitly write Streamlit commands into your Python script. This feature is enabled by default.
We recommend using VS Code when creating Streamlit apps.
Launch VS Code
Generate VS Code Instance on Notebooks Hub
Go to Notebooks Hub and log in with your credentials.
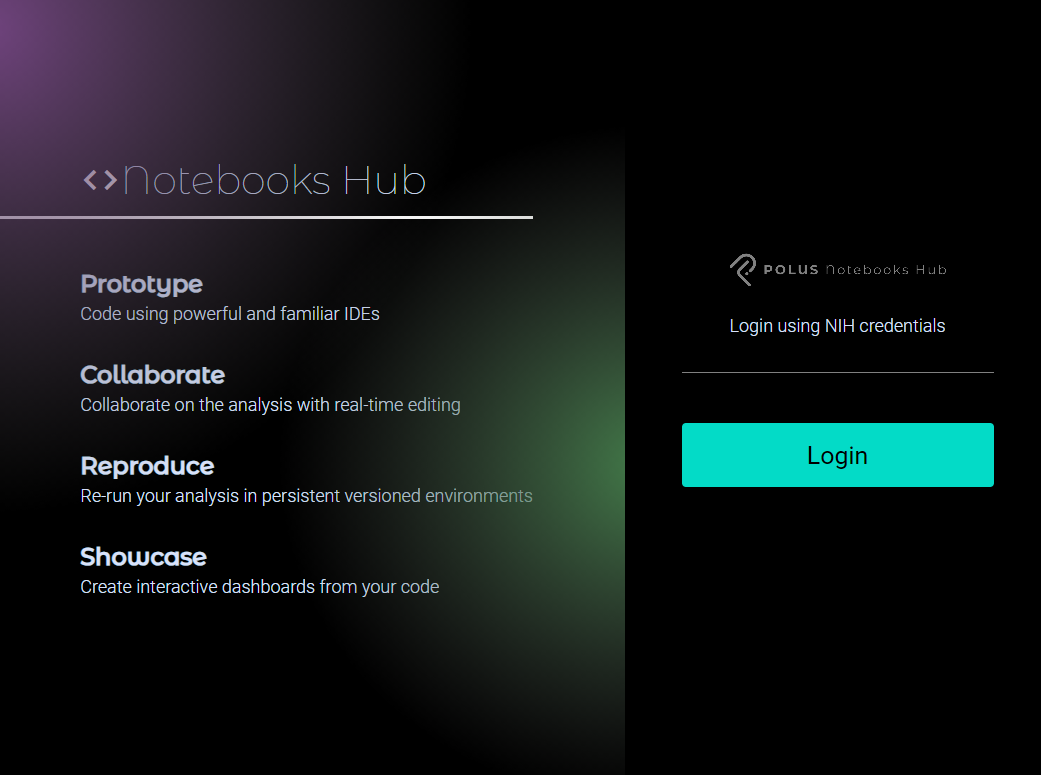
A screenshot of the Notebooks Hub login page

A screenshot of the Notebooks Hub credentials page
Next, launch VS Code using either of the following two methods.
Method 1: Quick Launch
From the Home page, select VS Code to quick launch the IDE.
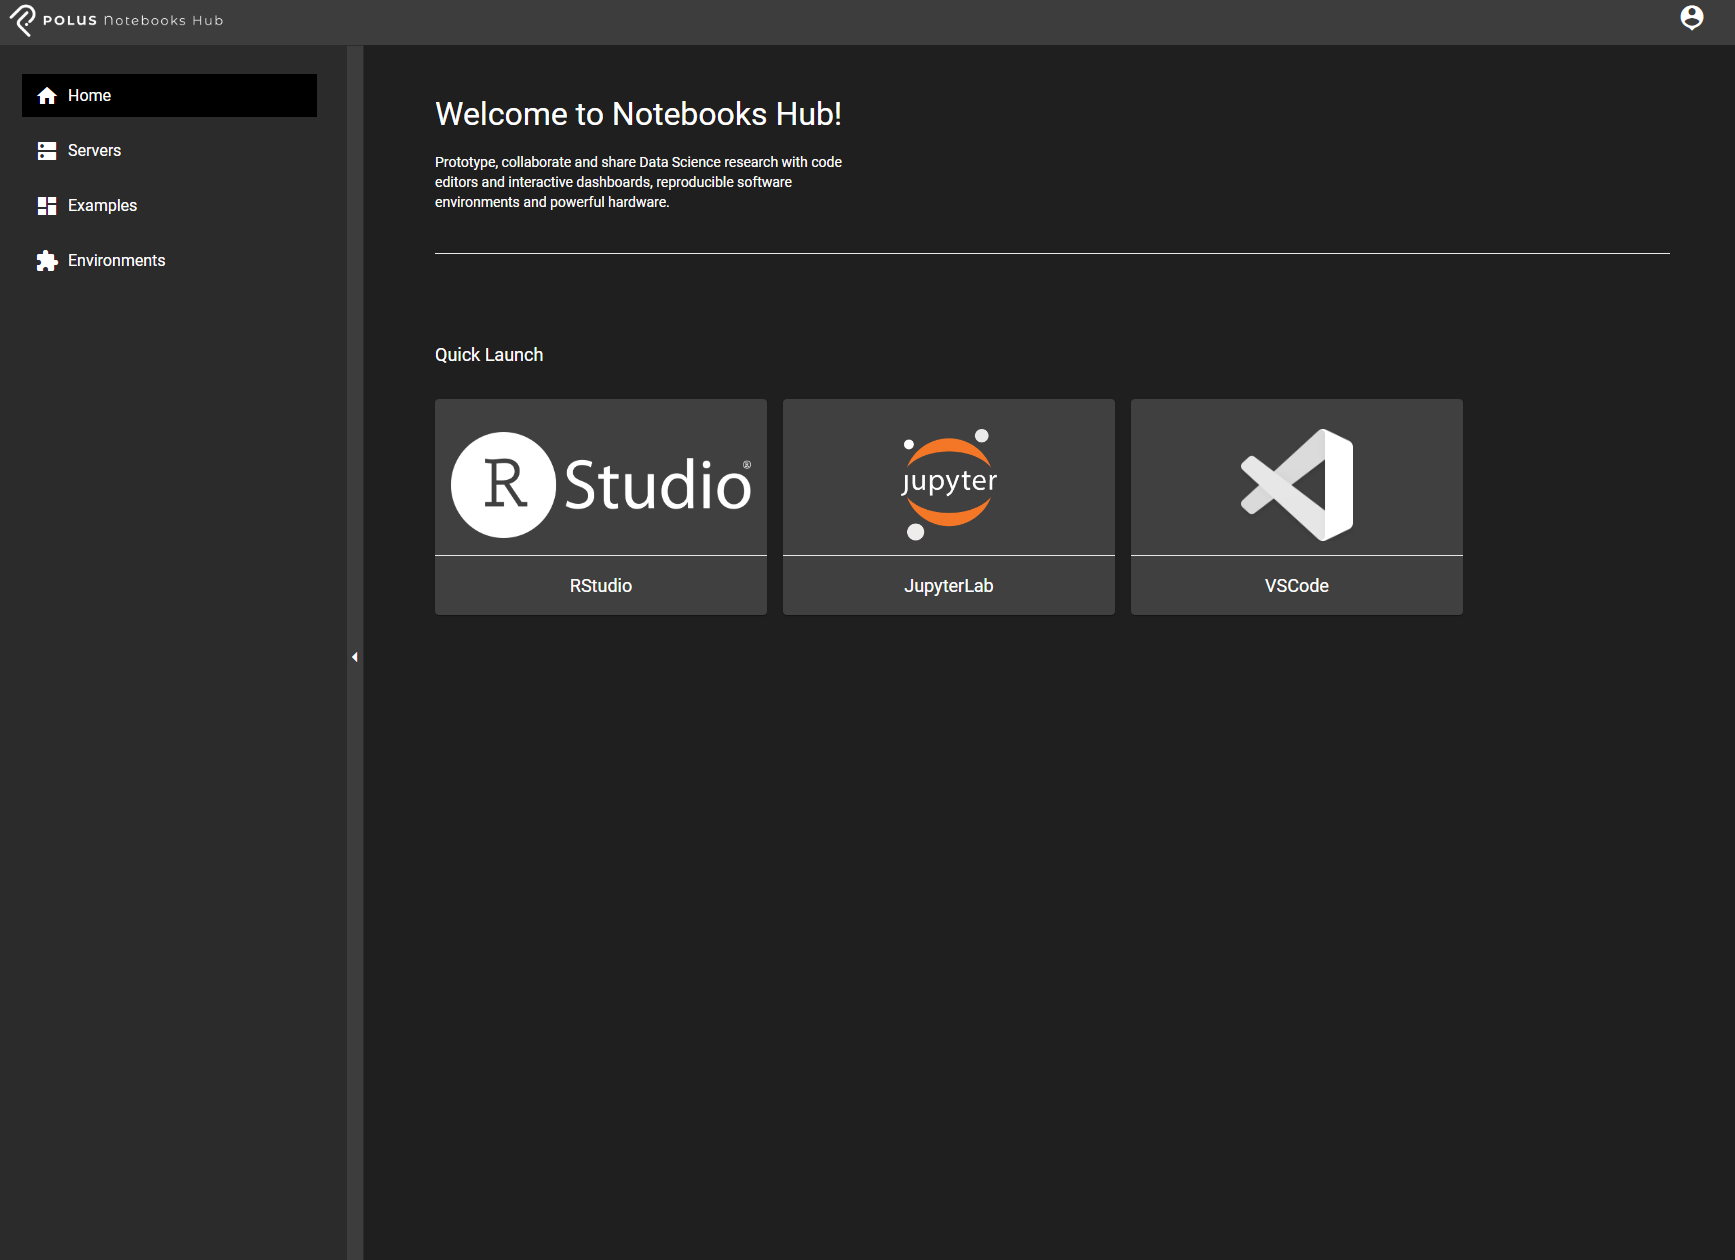
A screenshot of the Notebooks Hub home page
Method 2: Custom Server Instance
Alternatively, use the sidebar navigation panel to select Servers and select Create New to launch a VS Code instance with additional configurations.

A screenshot of the Notebooks Hub sidebar and dashboard panel
Next, work through the steps within the server wizard. Steps are illustrated below. 1. Select VS Code under the IDE tab.
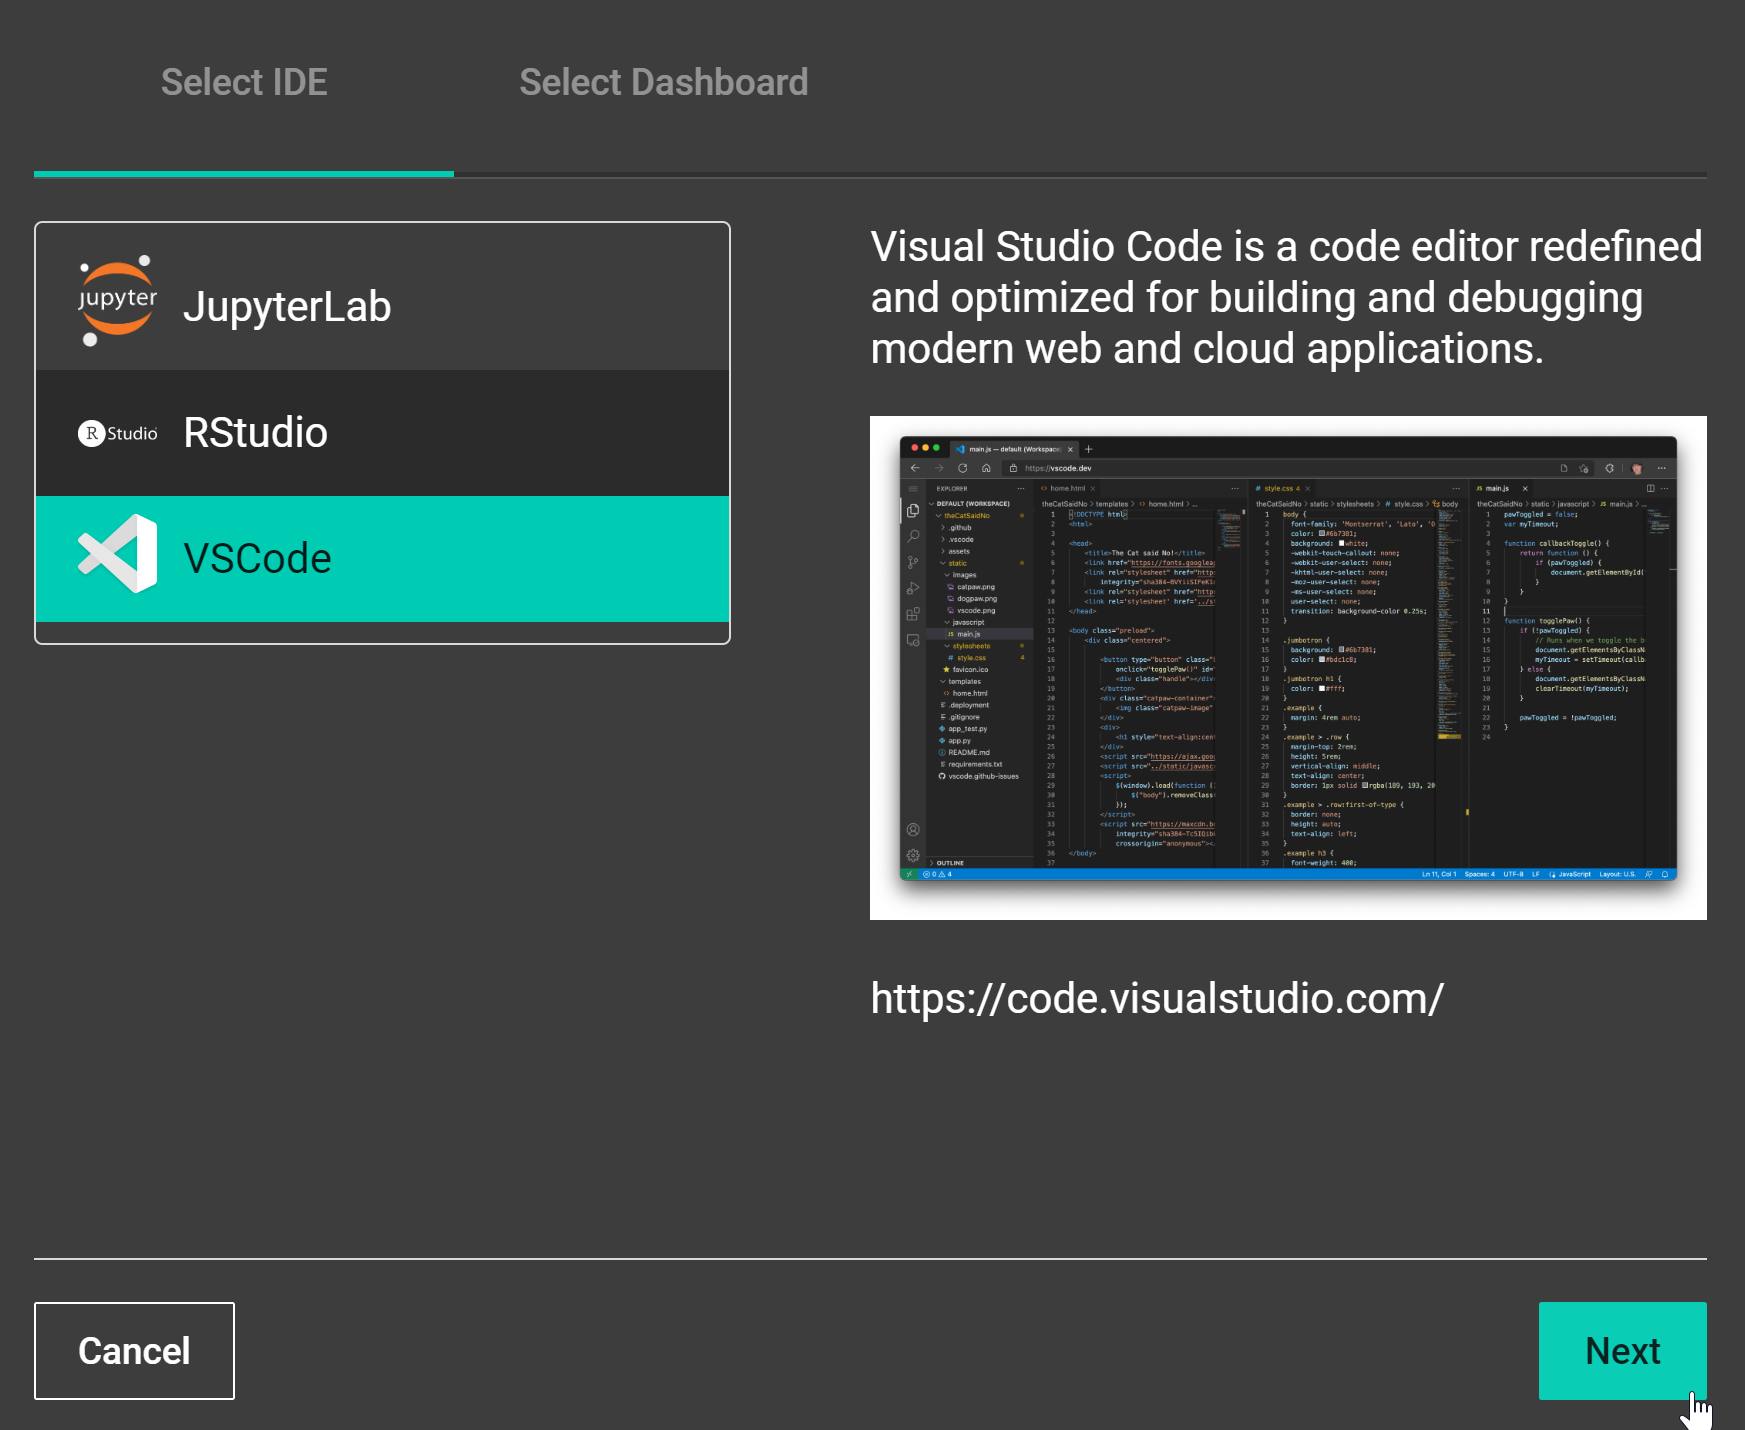
A screenshot of the Notebooks Hub new server steps
Select one of the options provided below.
Create New File: Create a new file when launching the server. If selected, the wizard will provide possible file extensions for the new file.
Upload File: This option allows the user to upload a file from the local computer onto the server.
Select File/Folder: This option points the server to a specific file that already exists on the server.
Skip: Launch without pointing to file. This is helpful when launching a fresh instance.
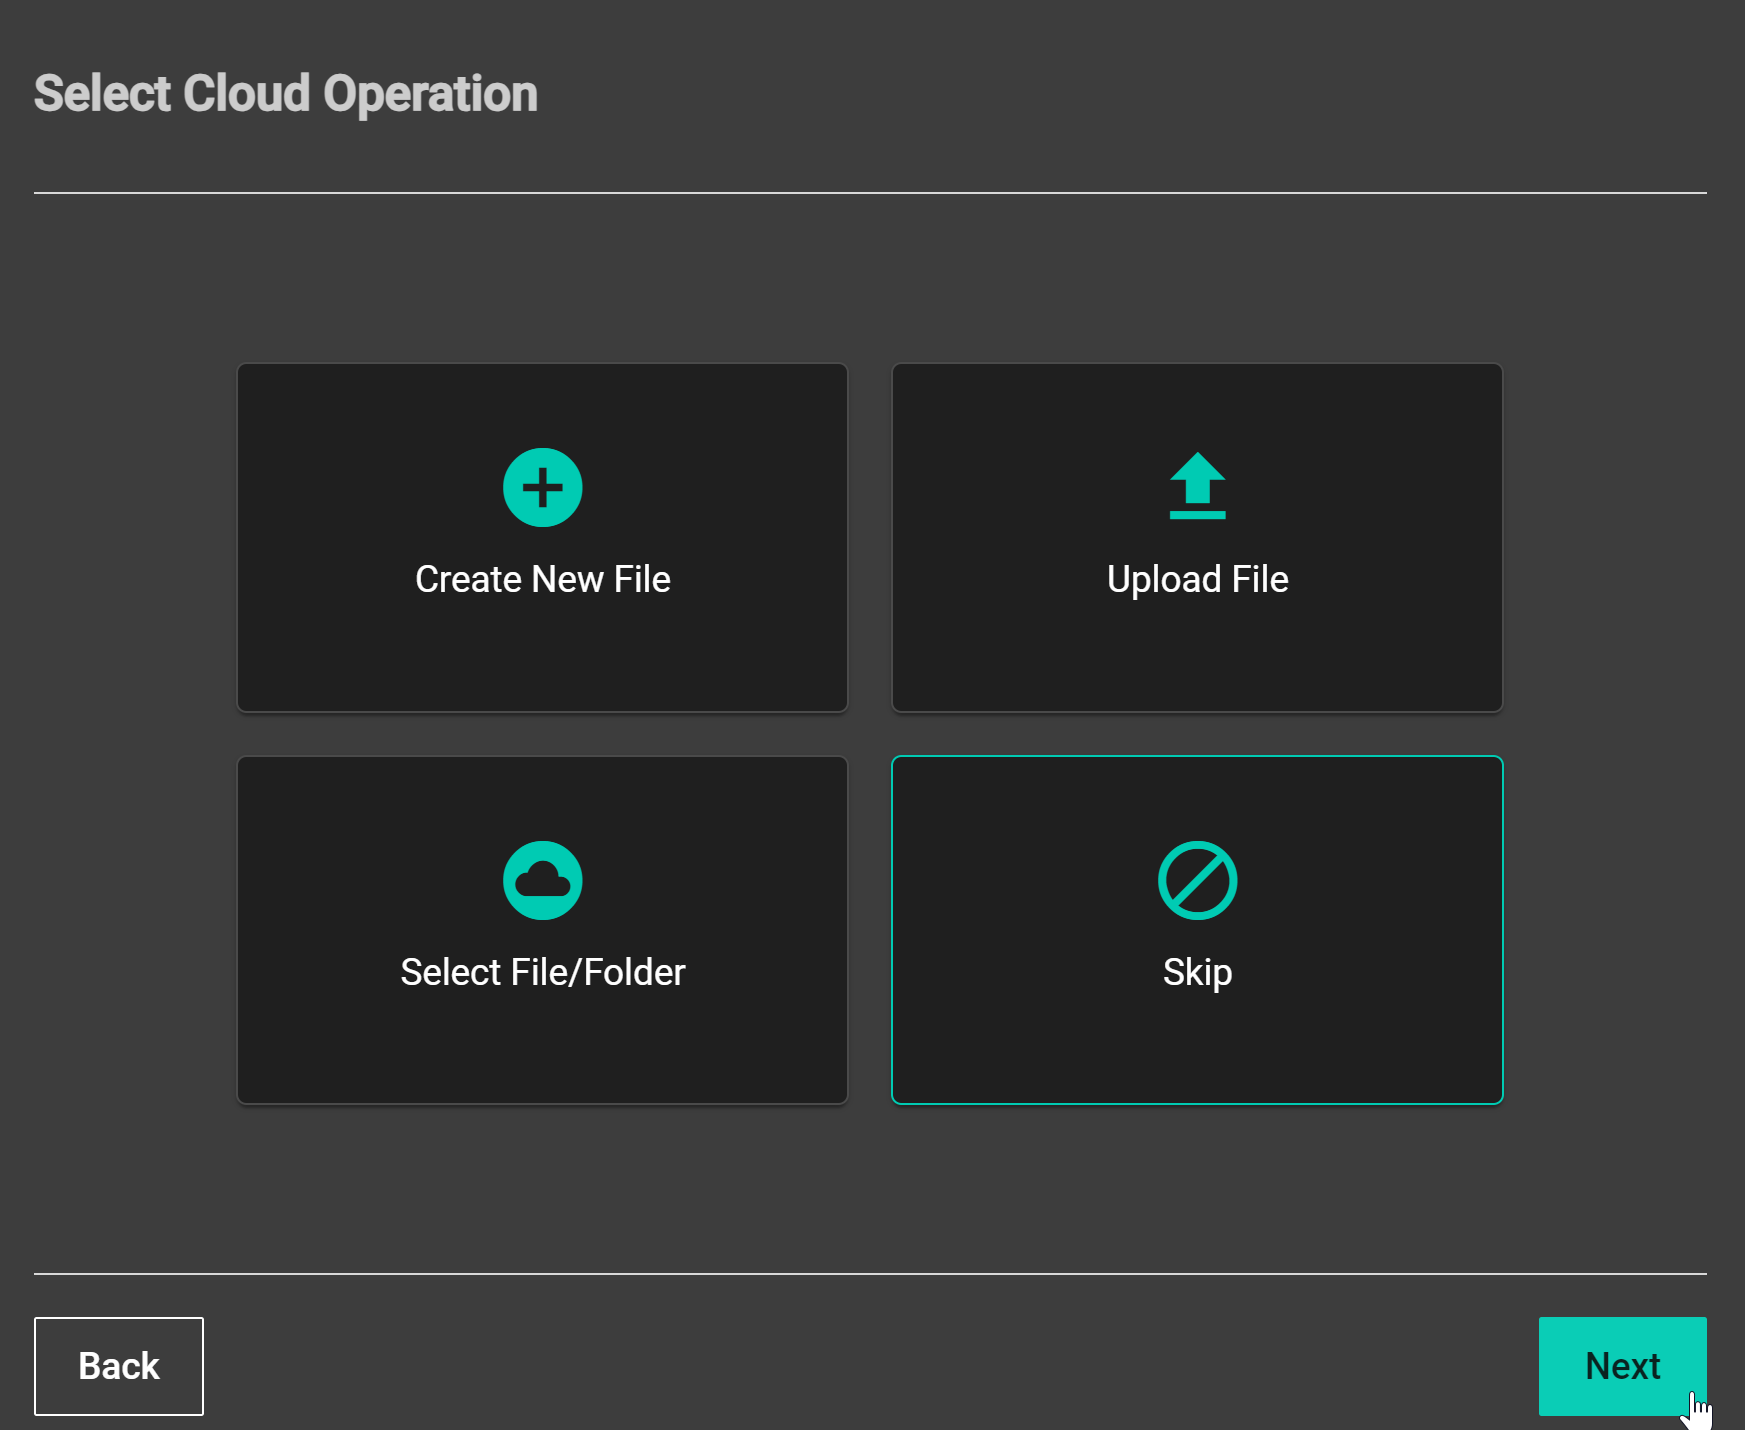
A screenshot of the Notebooks Hub new server steps
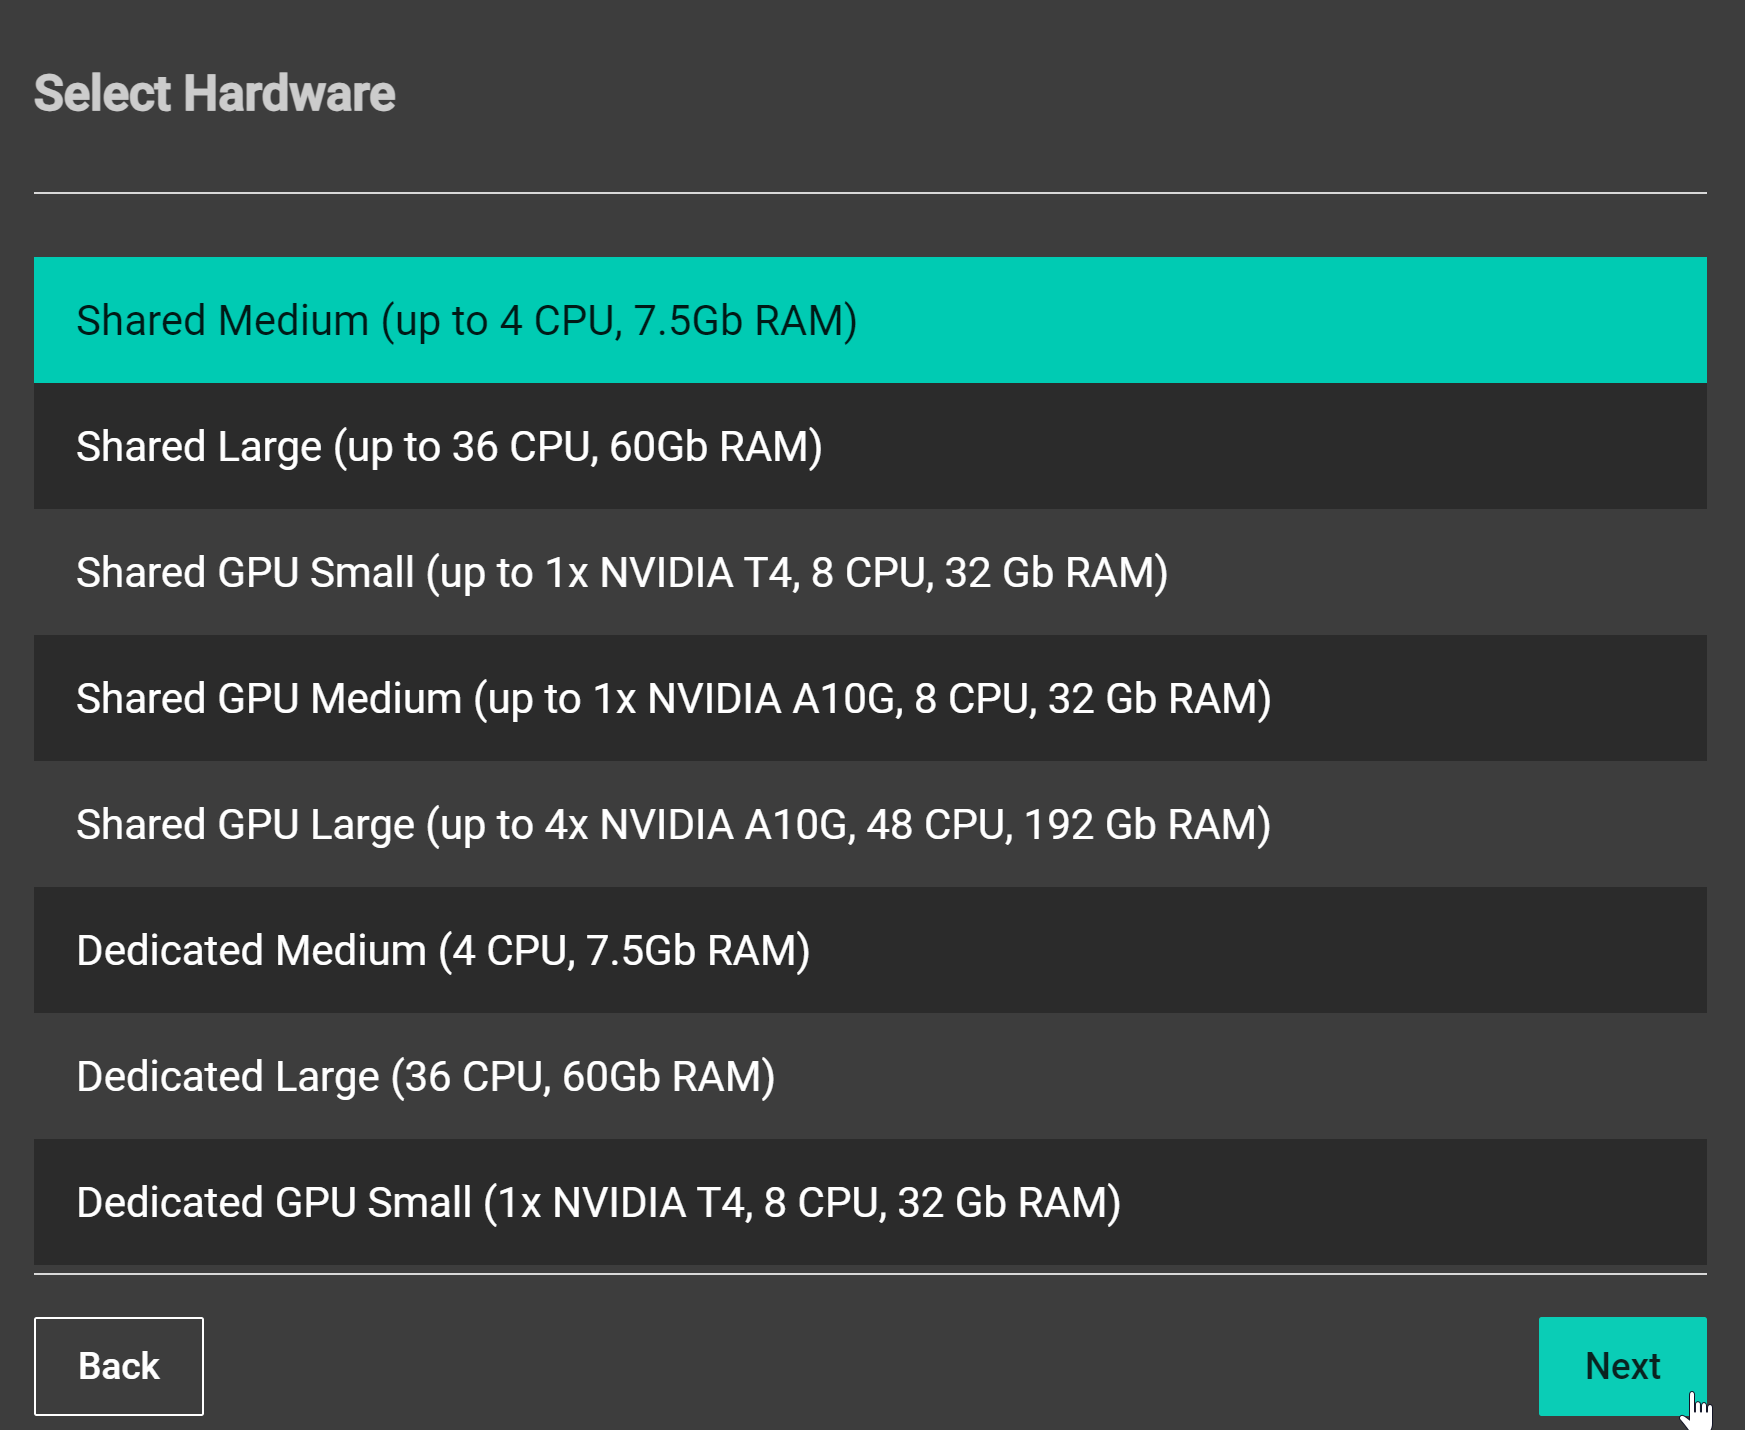
Select appropriate virtual hardware to utilize from the server host. In most cases, Shared Medium CPU is sufficient.
A screenshot of the Notebooks Hub new server steps
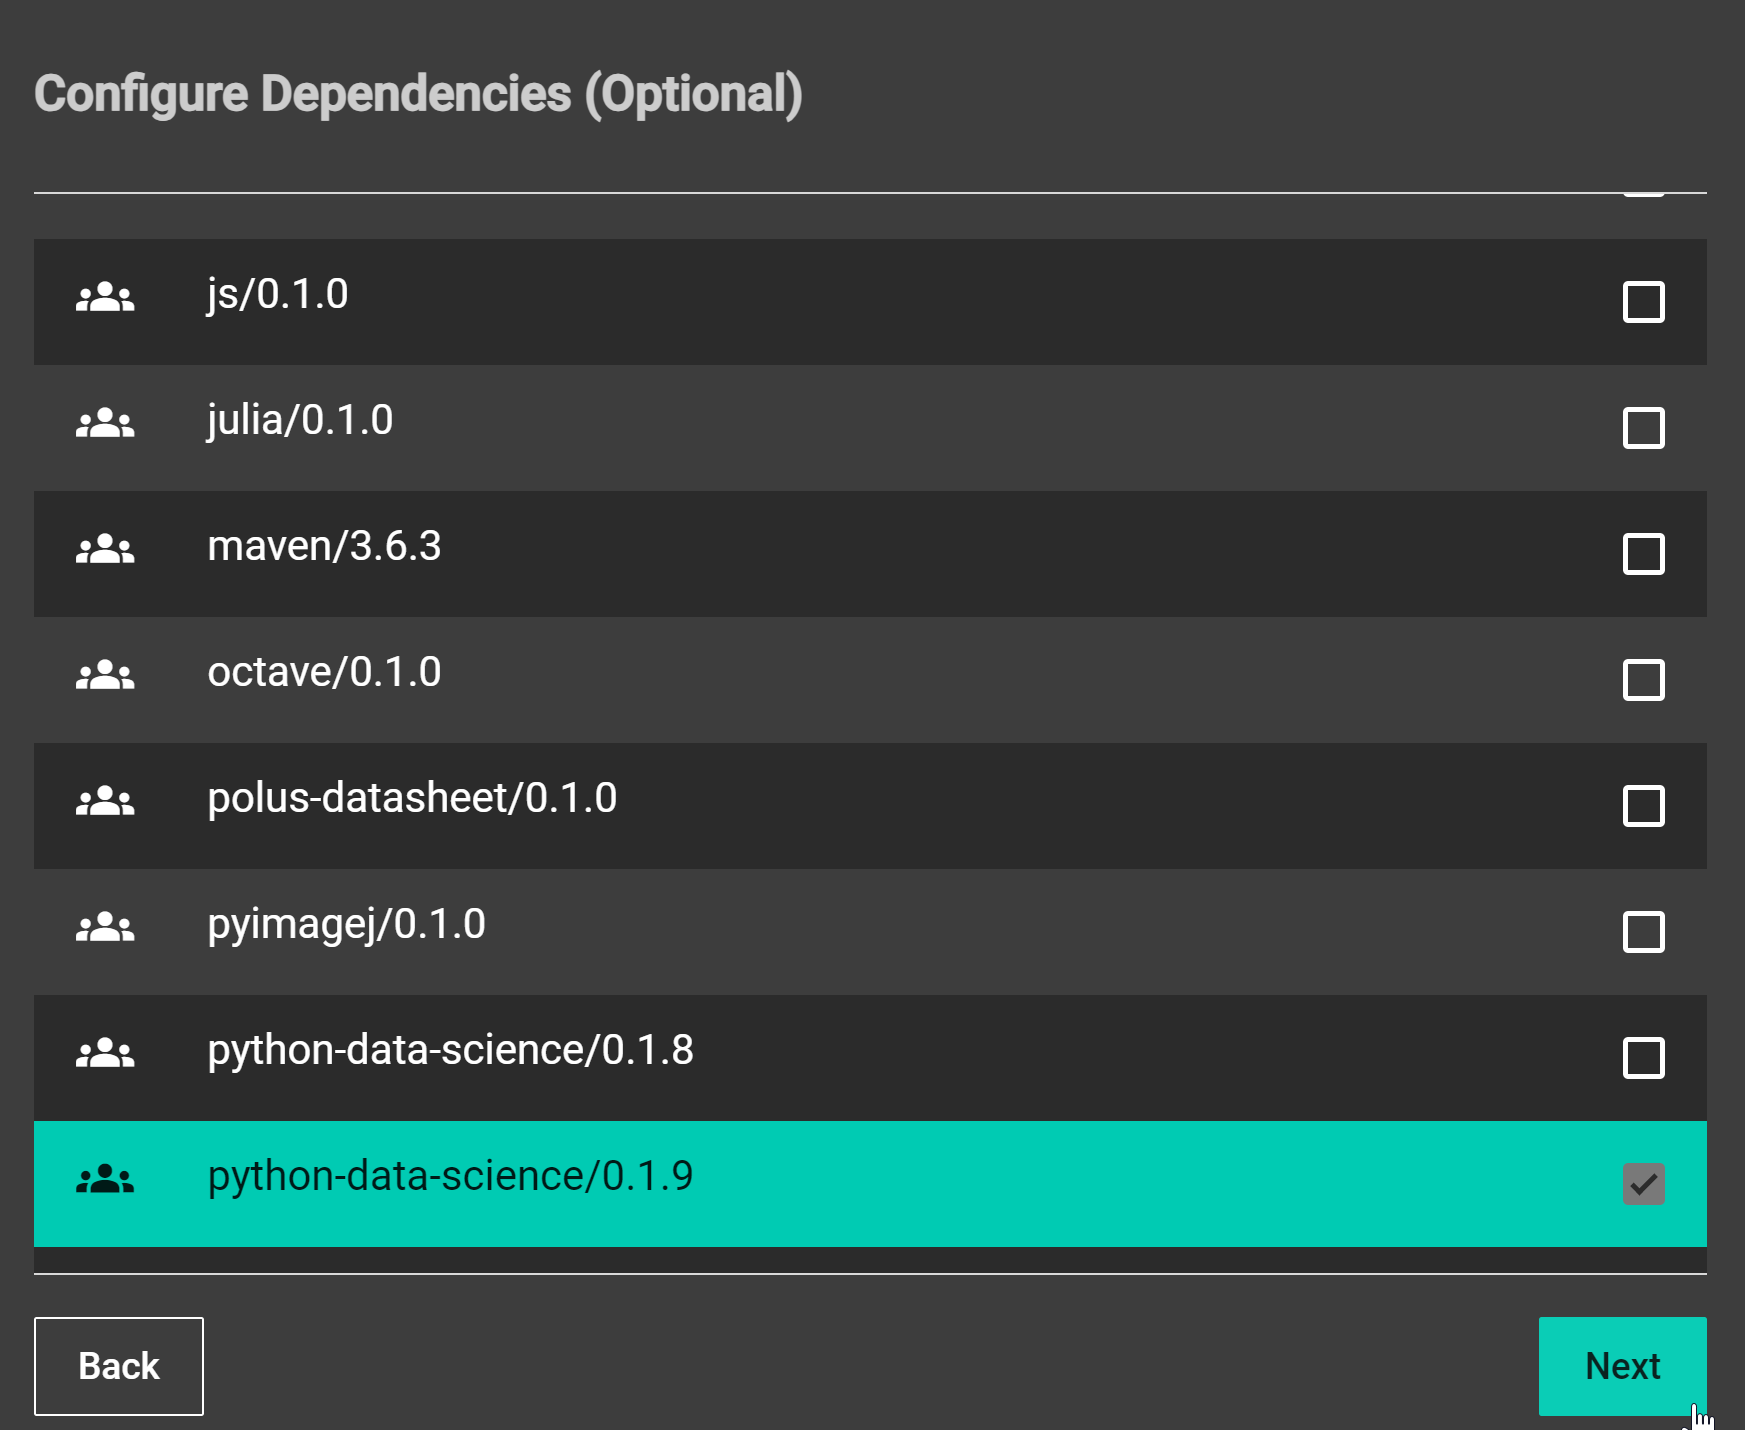
Select the appropriate module (i.e., python environment) to load for the instance. The latest python-data-science module is a great starting point. Custom environments and modules can be created following the steps outlined inside the Notebooks Hub UI section.
A screenshot of the Notebooks Hub new server steps
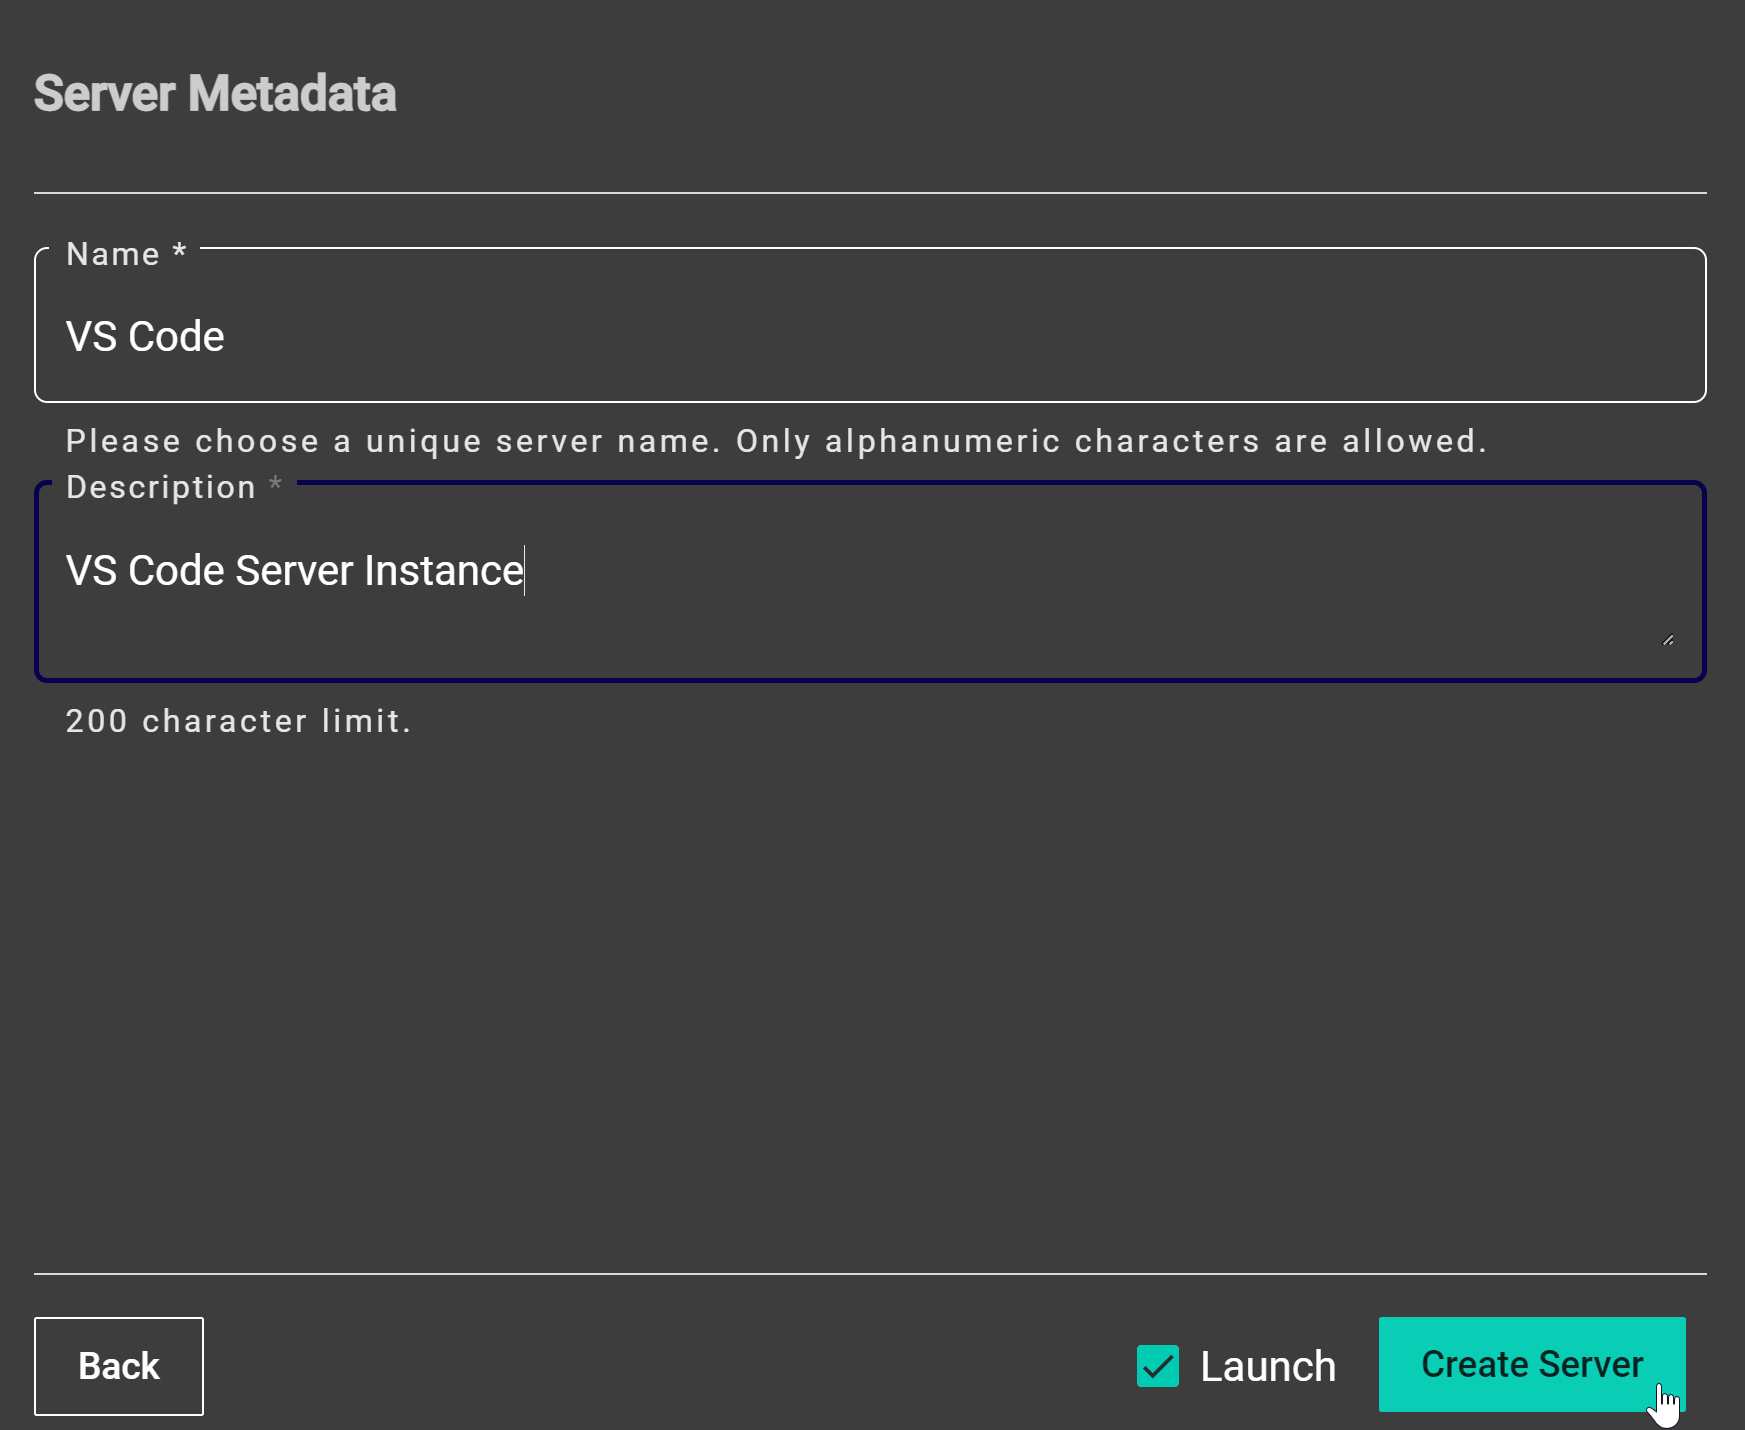
Add details to your server instance and click launch.
A screenshot of the Notebooks Hub new server steps
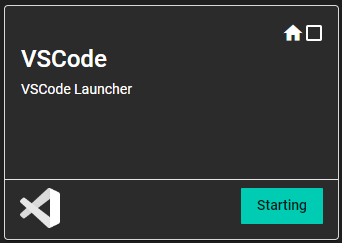
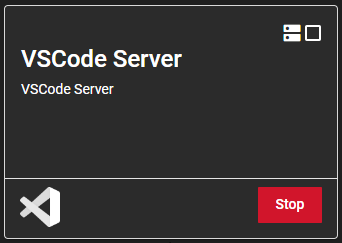
After the VS Code instance is created using either method, it will show up on your Servers page. The home icon on the top right corner of the instance indicates it was generated with quick launch from the Home page.
Open VS Code
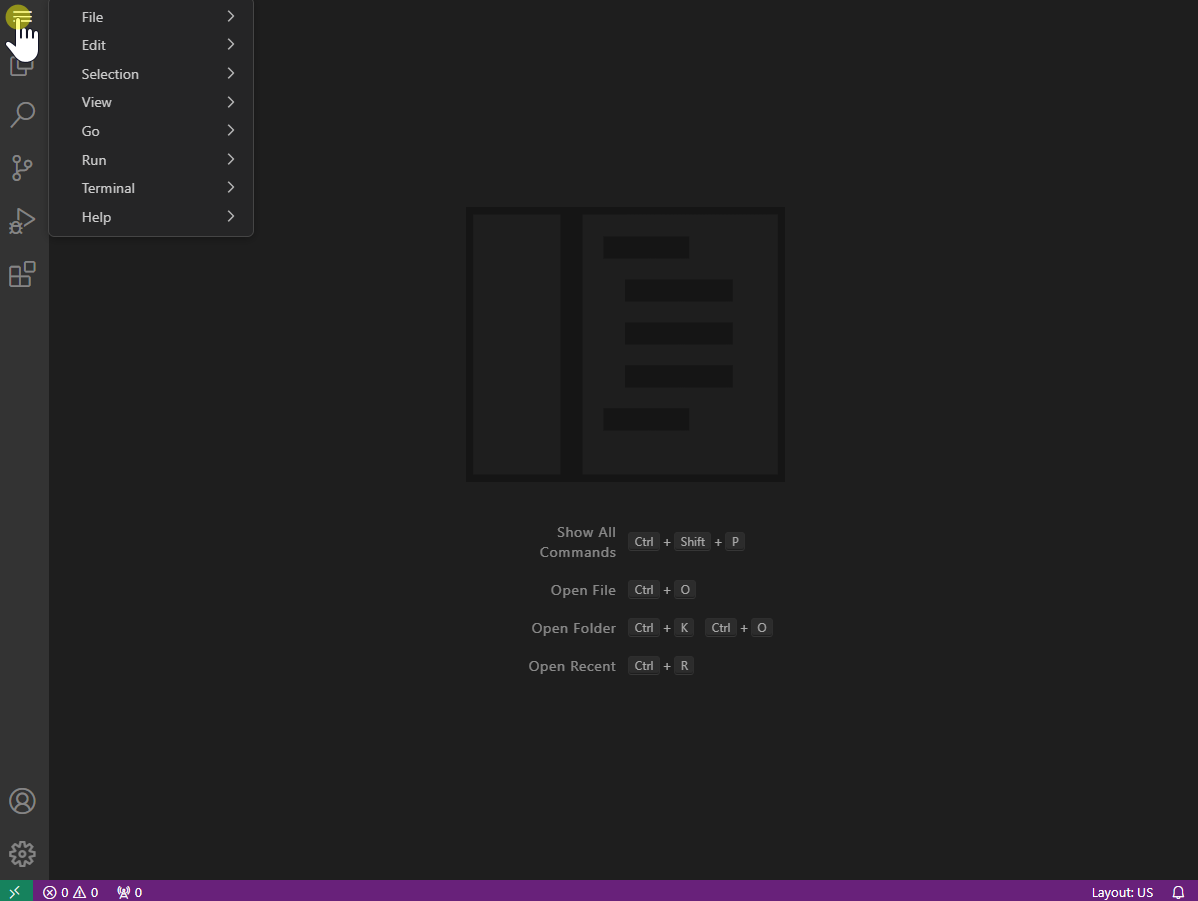
Open the Navigation Toolbar by clicking the top left corner.
A screenshot of VS Code showing step to add folder to workspace
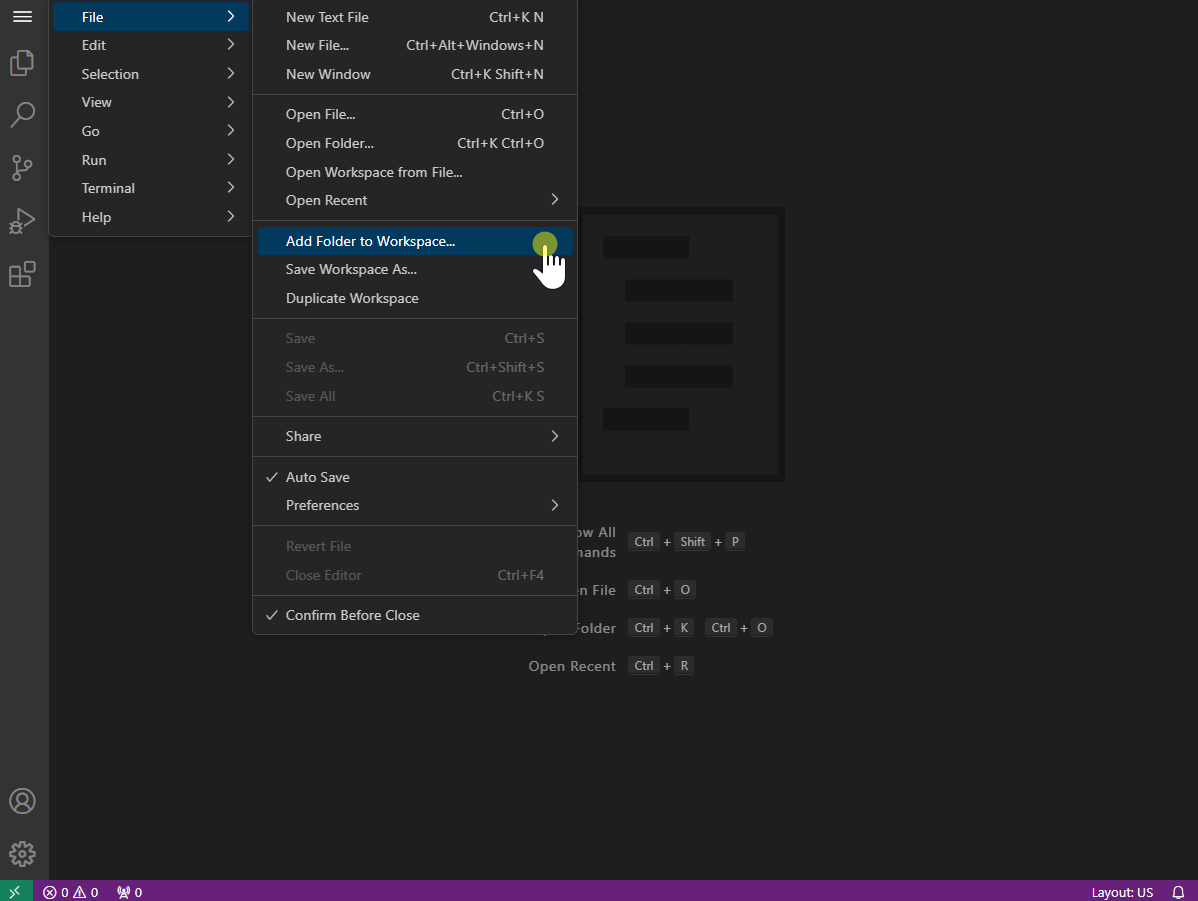
Select File then Add Folder to Workspace….
A screenshot of VS Code showing step to add folder to workspace
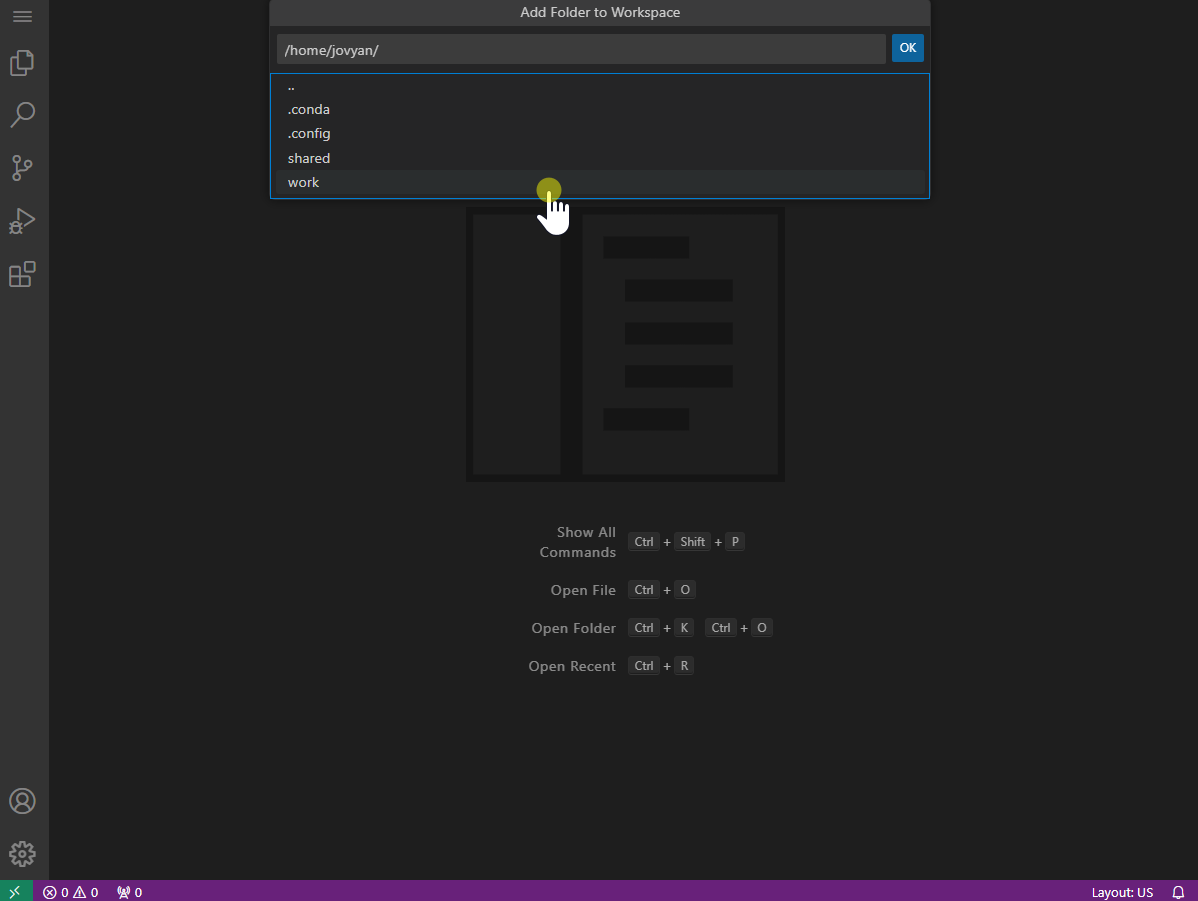
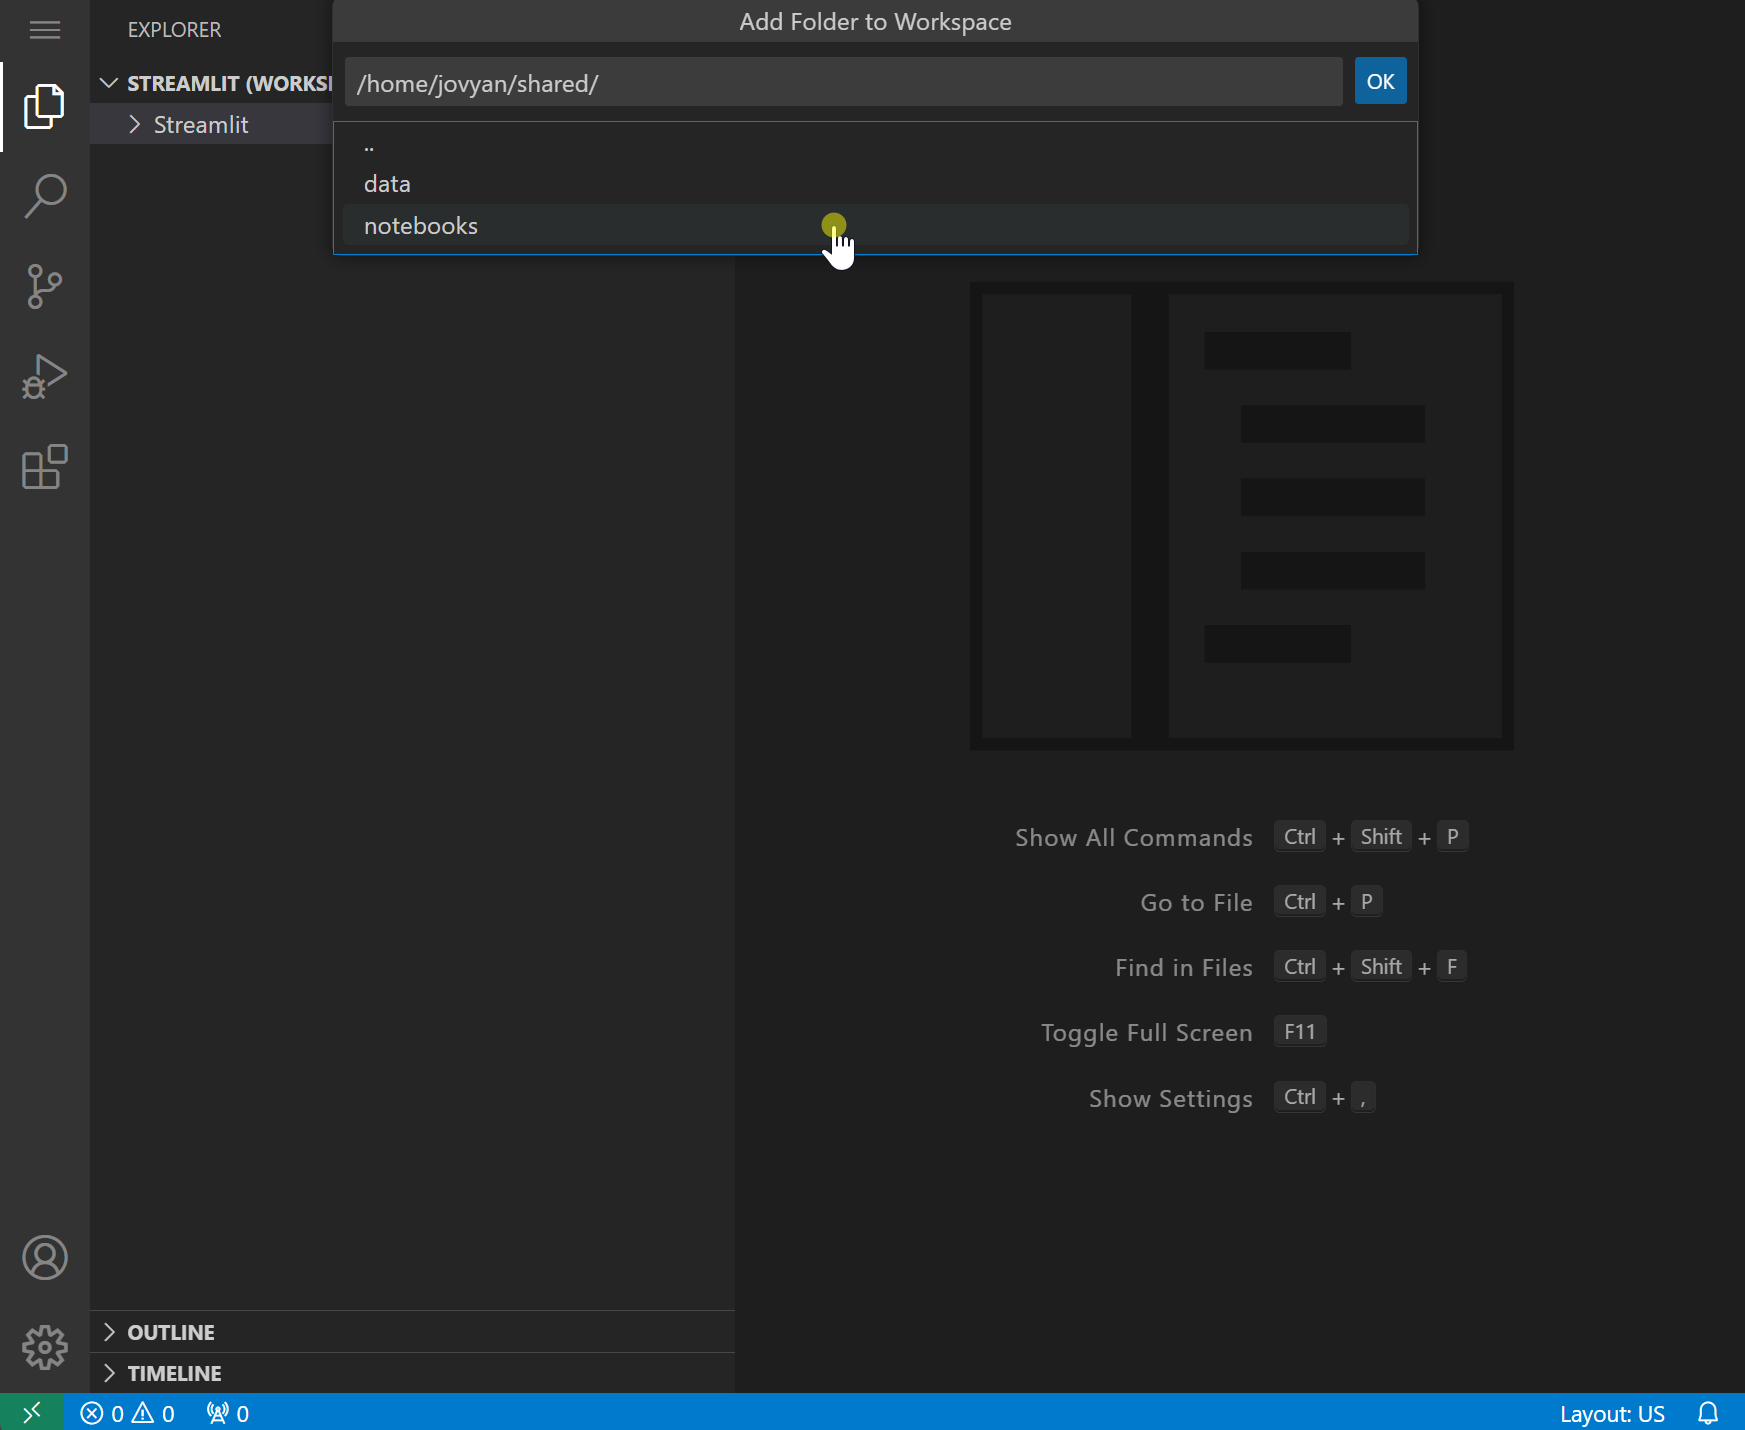
Select
home/jovyan/workto add the work directory to your workspace. Any files saved in your personal work directory will persist across user sessions. The shared directory (home/jovyan/shared) can also be added to your workspace but cannot be edited. The benefits of adding the shared directory is to access example datasets and applications.
A screenshot of VS Code showing step to add folder to workspace
A workspace with your selected folder will now appear in the file explorer. This workspace can be saved and renamed as desired.
A screenshot of VS Code showing workspace
A gif showing workspace saving on VS Code
If needed, additional directories can be added to the same workspace by right clicking inside the file explorer, clicking Add Folder to Workspace…, then selecting your desired folder to add.
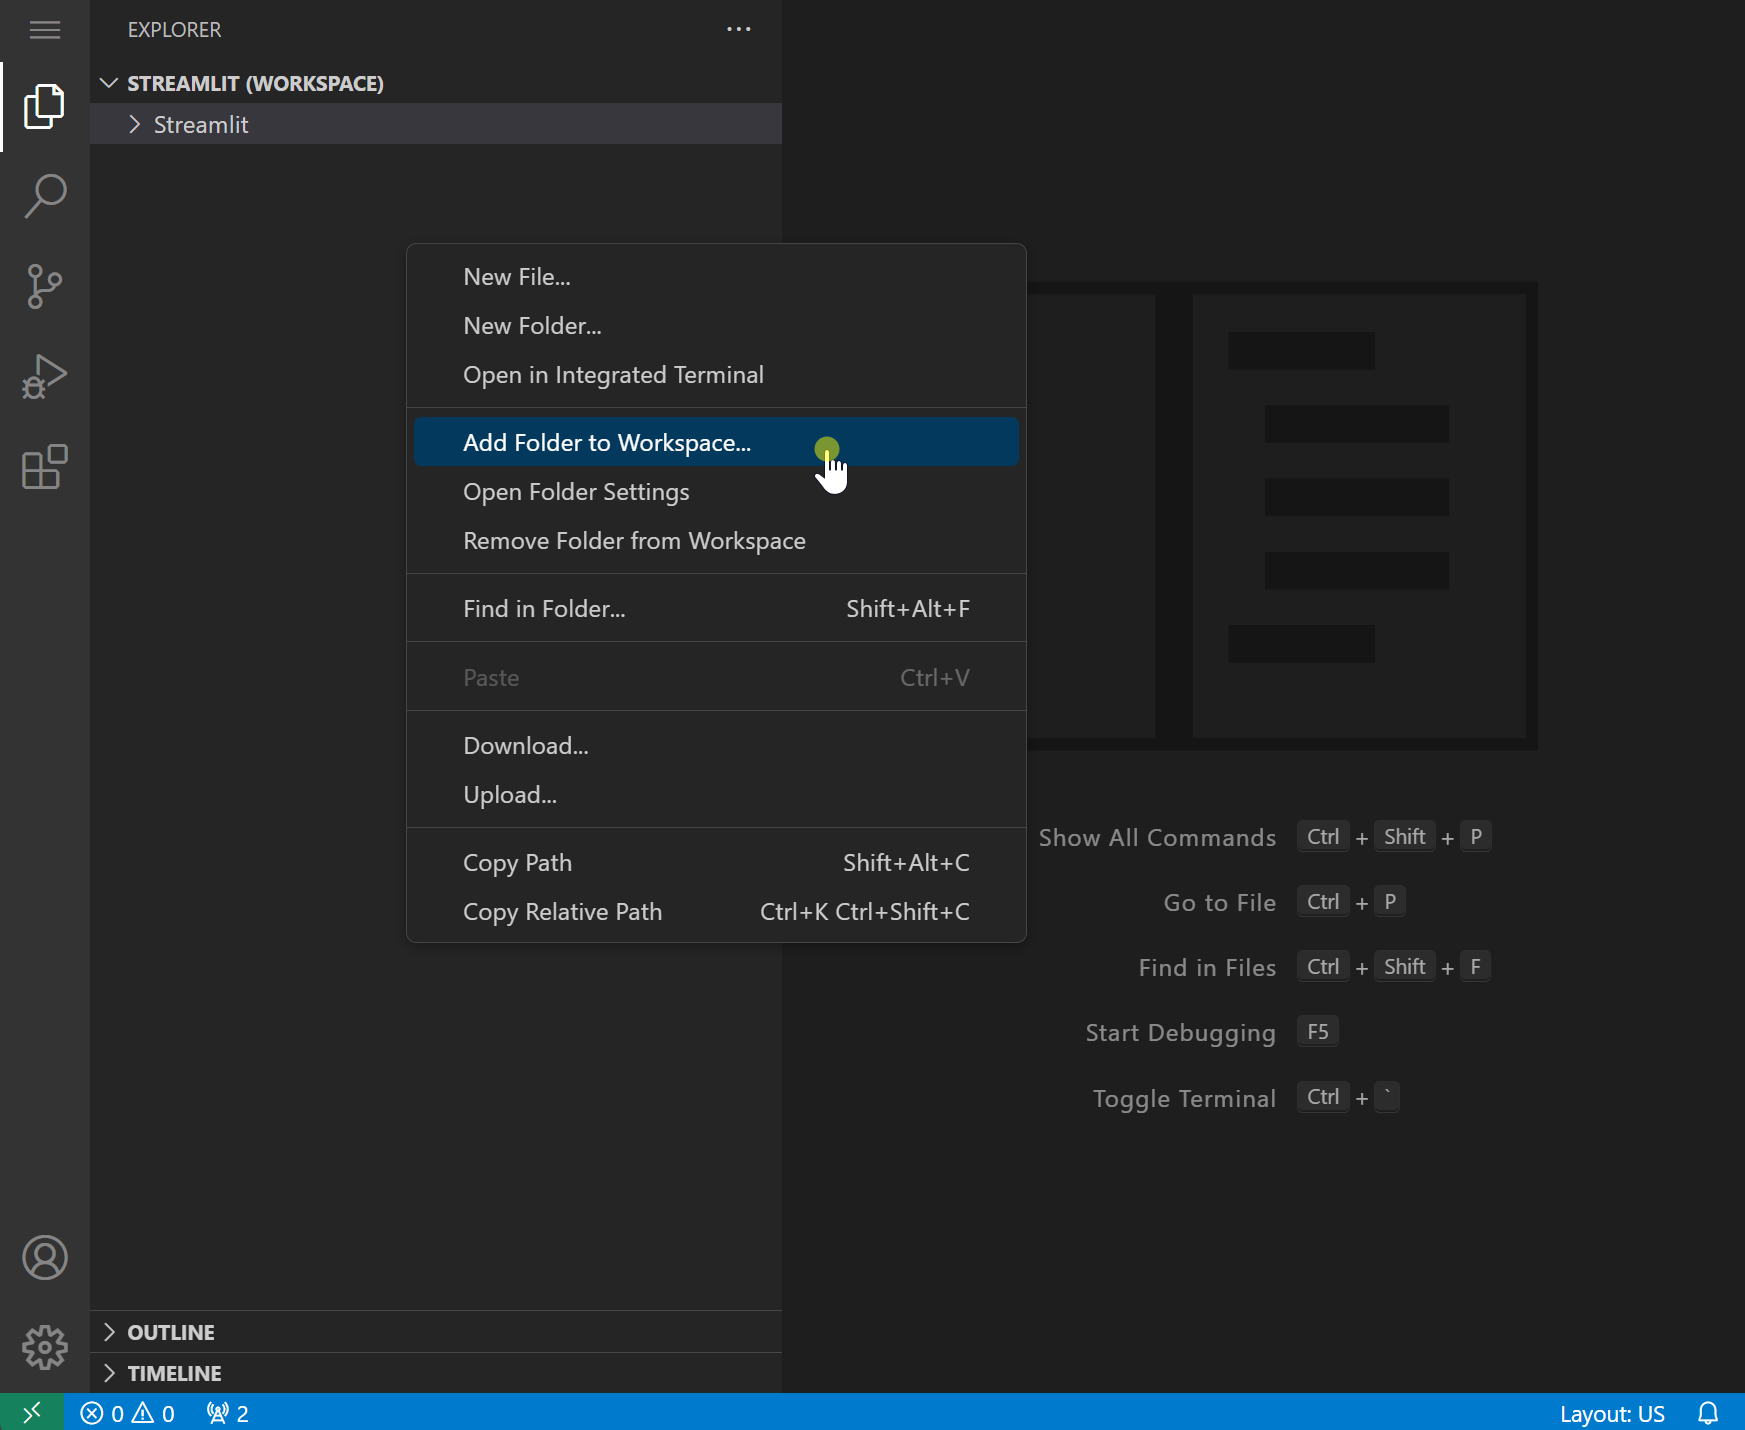
A screenshot showing how to add folders to workspace in VS Code
A screenshot showing how to add folders to workspace in VS Code
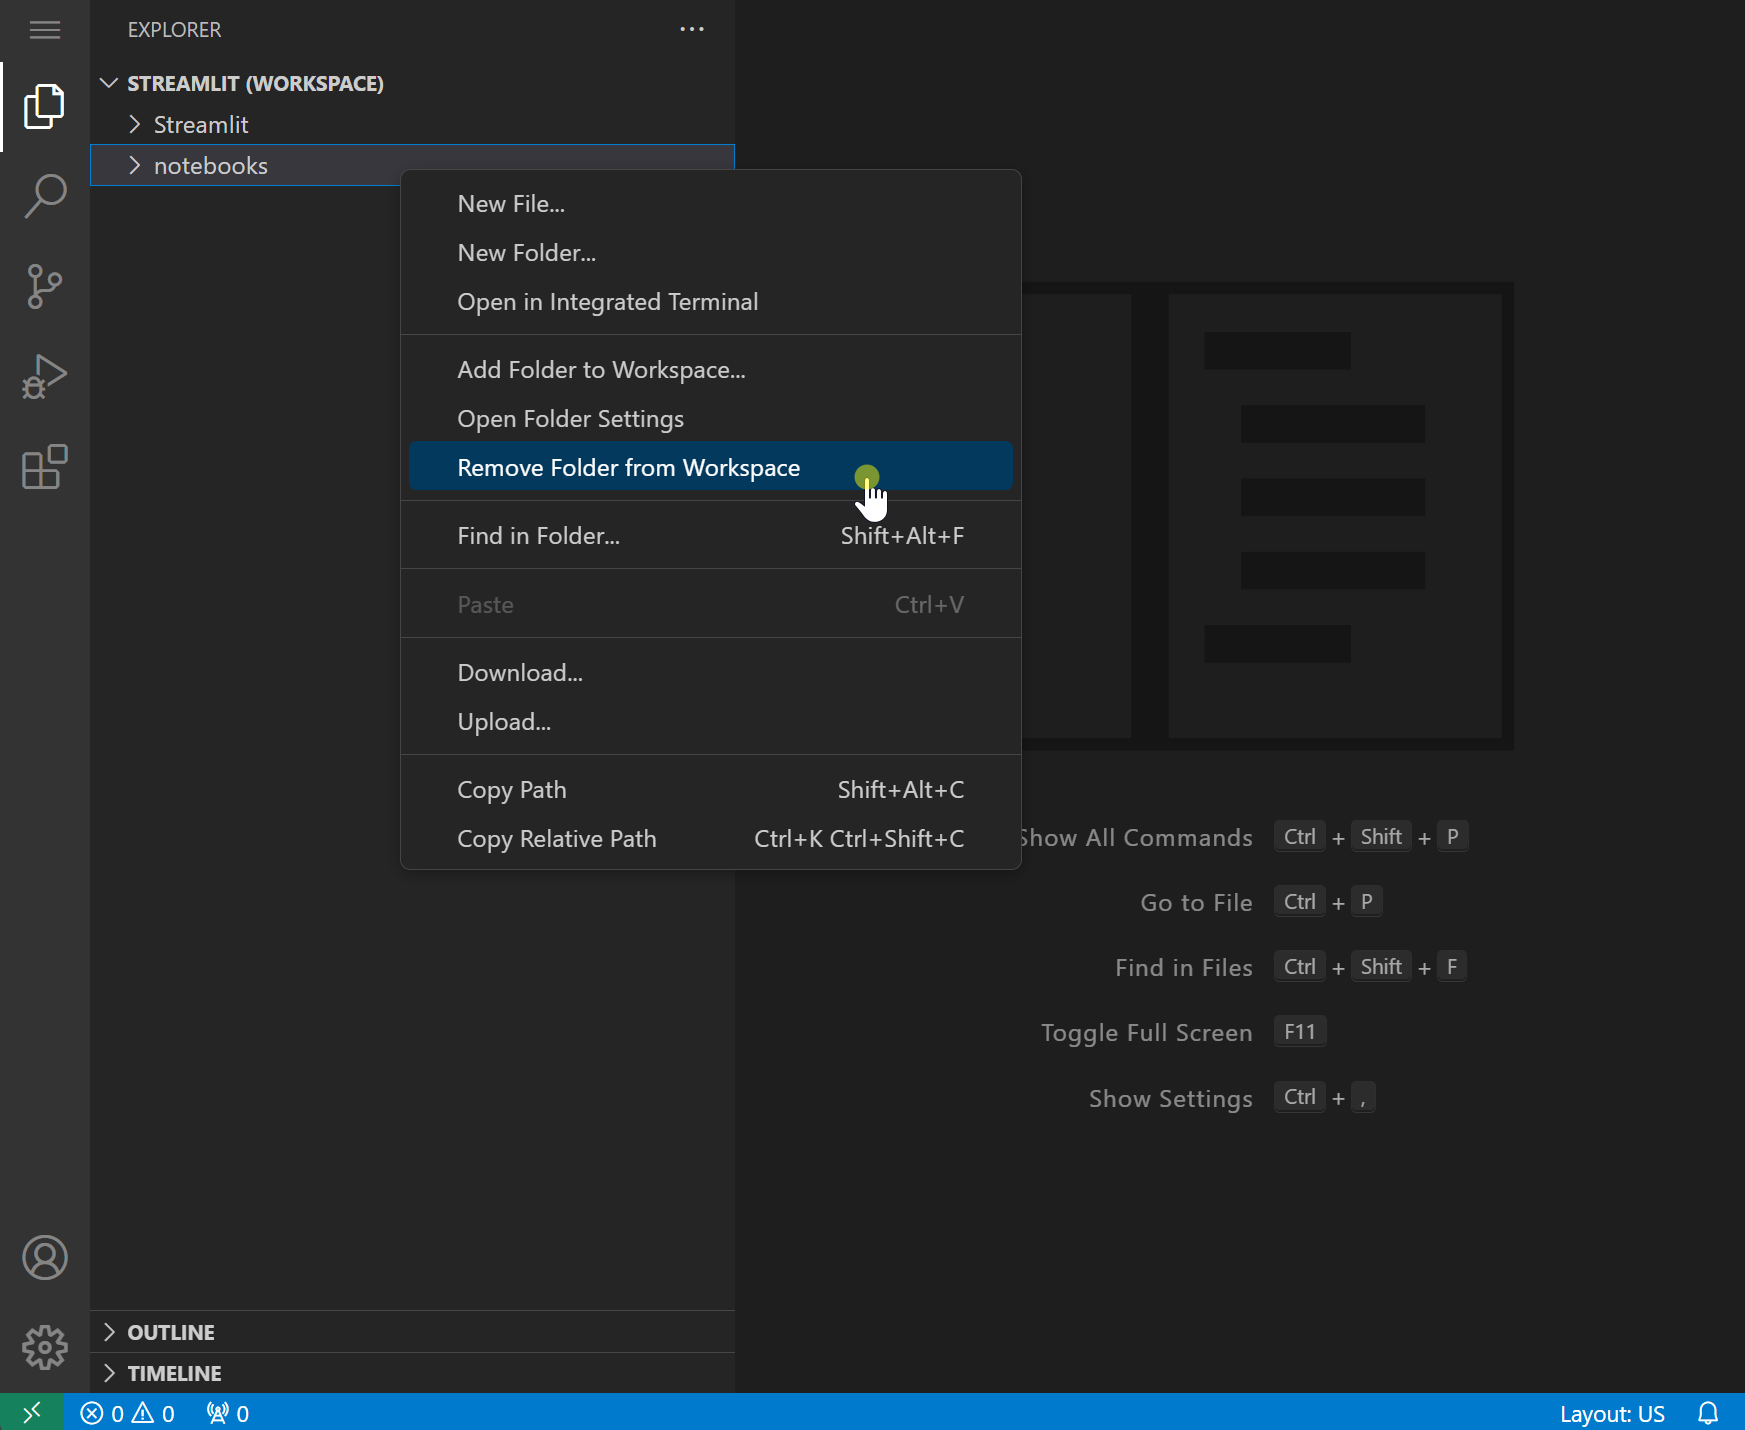
Parent folders inside the workspace file explorer can be removed from the workspace. Folders removed from the workspace will not be deleted.
A screenshot showing how to add folders to workspace in VS Code
Install Streamlit
Open Terminal
Open terminal window inside VS Code by using the Navigation Toolbar > Click on Terminal > Click on New Terminal.
A gif showing how to open terminal in VS Code
If there is more than one parent directory in the workspace, a command
window will open at the top of VS code prompting the user to select
which directory to set as the terminal’s current path. This initial path
can be changed using standard shell commands (e.g.,
cd <path/to/desired/directory>).
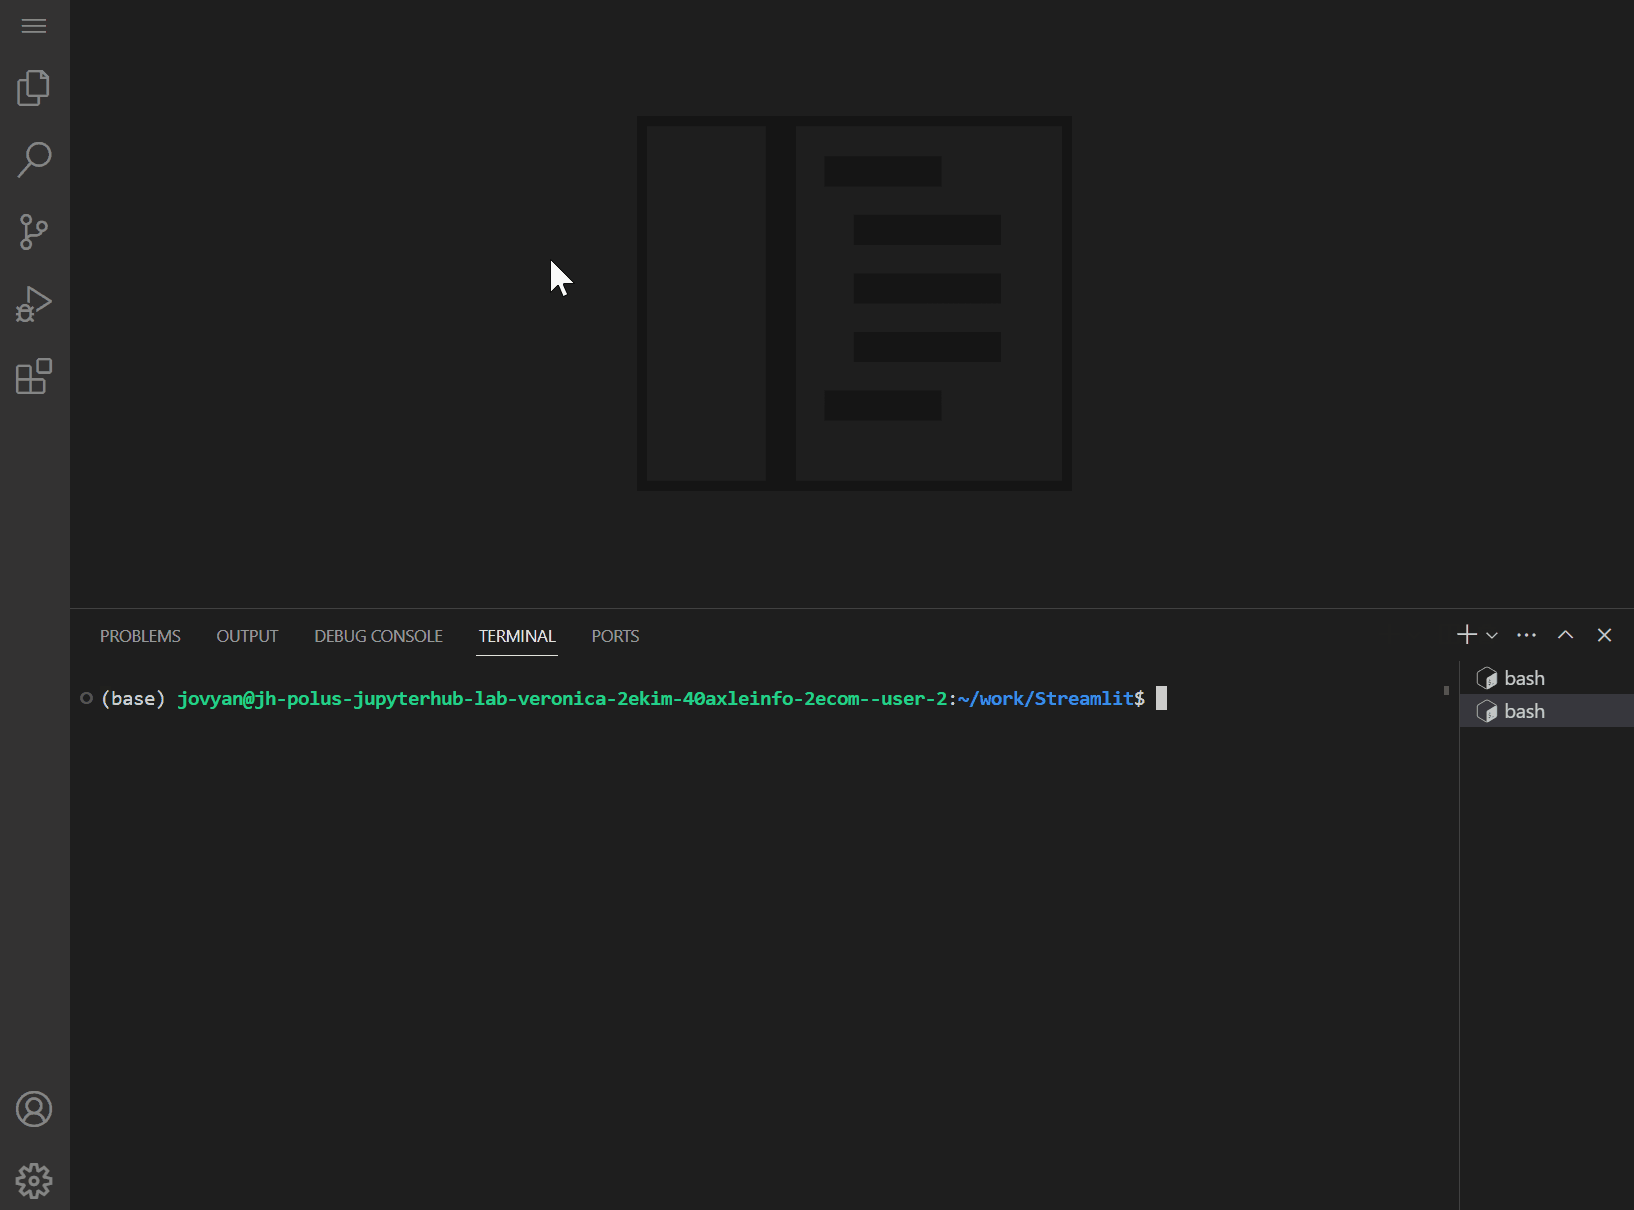
Once the terminal panel loads at the bottom of VS Code, the selected
working path for the terminal will be shown before the $ symbol. If
there are two or more parent folders in the workspace, the parent folder
name will also be shown next to the terminal type (e.g., shown as bash
- work in image below). Multiple terminal windows can also be opened
using the same steps listed above, or simply by clicking on the +
button or + dropdown.
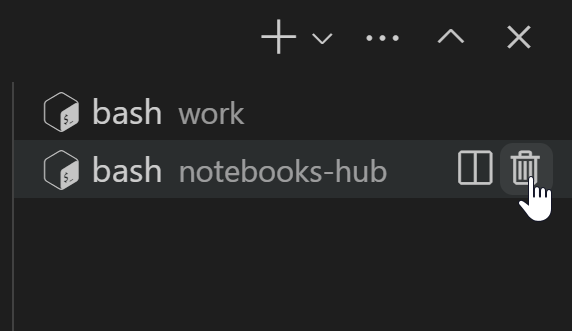
Multiple terminal windows will appear in a list on the right side of the terminal panel. Use the trashcan icon to delete unnecessary windows as needed.
A screenshot of multiple terminals listed in panel in VS Code
Installation using pip
Activate desired conda environment and install Streamlit using
pip install streamlit. Streamlit can also be installed into the
default base conda environment, but note that installations inside
base are temporary. These will be cleared with each new user session
(i.e., stopping then restarting the server instance).
For more information on creating your own user-defined conda environments, please refer to the the instructions here.
A gif showing pip installation of streamlit in VS Code
Test proper streamlit installation by typing streamlit hello into
the terminal to launch the introductory demo.
A gif showing streamlit hello demo in VS Code
Port Forwarding
Applications are forwarded into different ports. A pop up notification will appear at the bottom right corner of VS Code. Click Open in Browser to open a new tab window showing the running application.

A screenshot of the port forwarding notification
If this notification does not appear or disappears after some time, navigate to PORTS in the terminal panel to see any running applications.

A screenshot of the PORT panel in VS Code
Stop Application Run
Use Ctrl+C in the terminal to stop the app (i.e., press the C
key while holding down Ctrl key).
Creating a Streamlit App
Create app.py File
Create a new
.pyfile, commonly namedapp.pyfor simplicity. This can be renamed if desired. Two easy options to create a new file using the VS Code interface are shown below.
Option 1: Use Navigation Toolbar > Click on File > Click on New File
A gif showing method to create new file on VS code.
Option 2: In the File Explorer Panel, hover over your workspace
name and click on the new file button: ![]()

A gif showing method to create new file on VS code.
Inside the terminal, navigate to the proper working directory containing the
app.pyfile if not already there. The correct path can be obtained by right clicking on the folder name inside File Explorer and selecting Copy Path. Then, typecd <right-click>into the terminal to change its current path to the proper directory (e.g.,cd /home/jovyan/work/Streamlit).
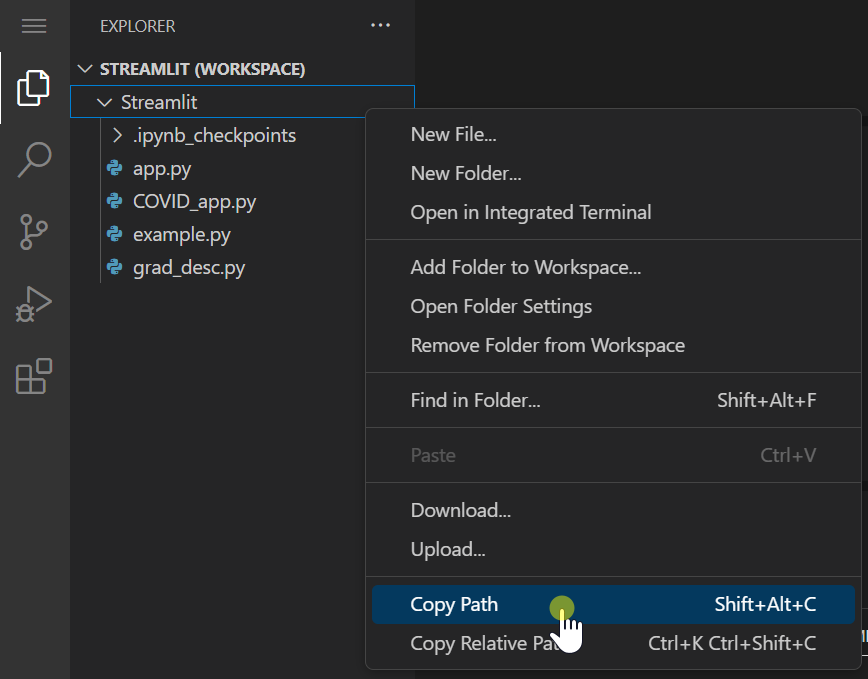
A screenshot showing menu containing copy path
Test file by entering
streamlit run app.pyinto the terminal. At this stage, a blank app should appear in your browser as shown below. UseCtrl+Cto stop app before moving on.
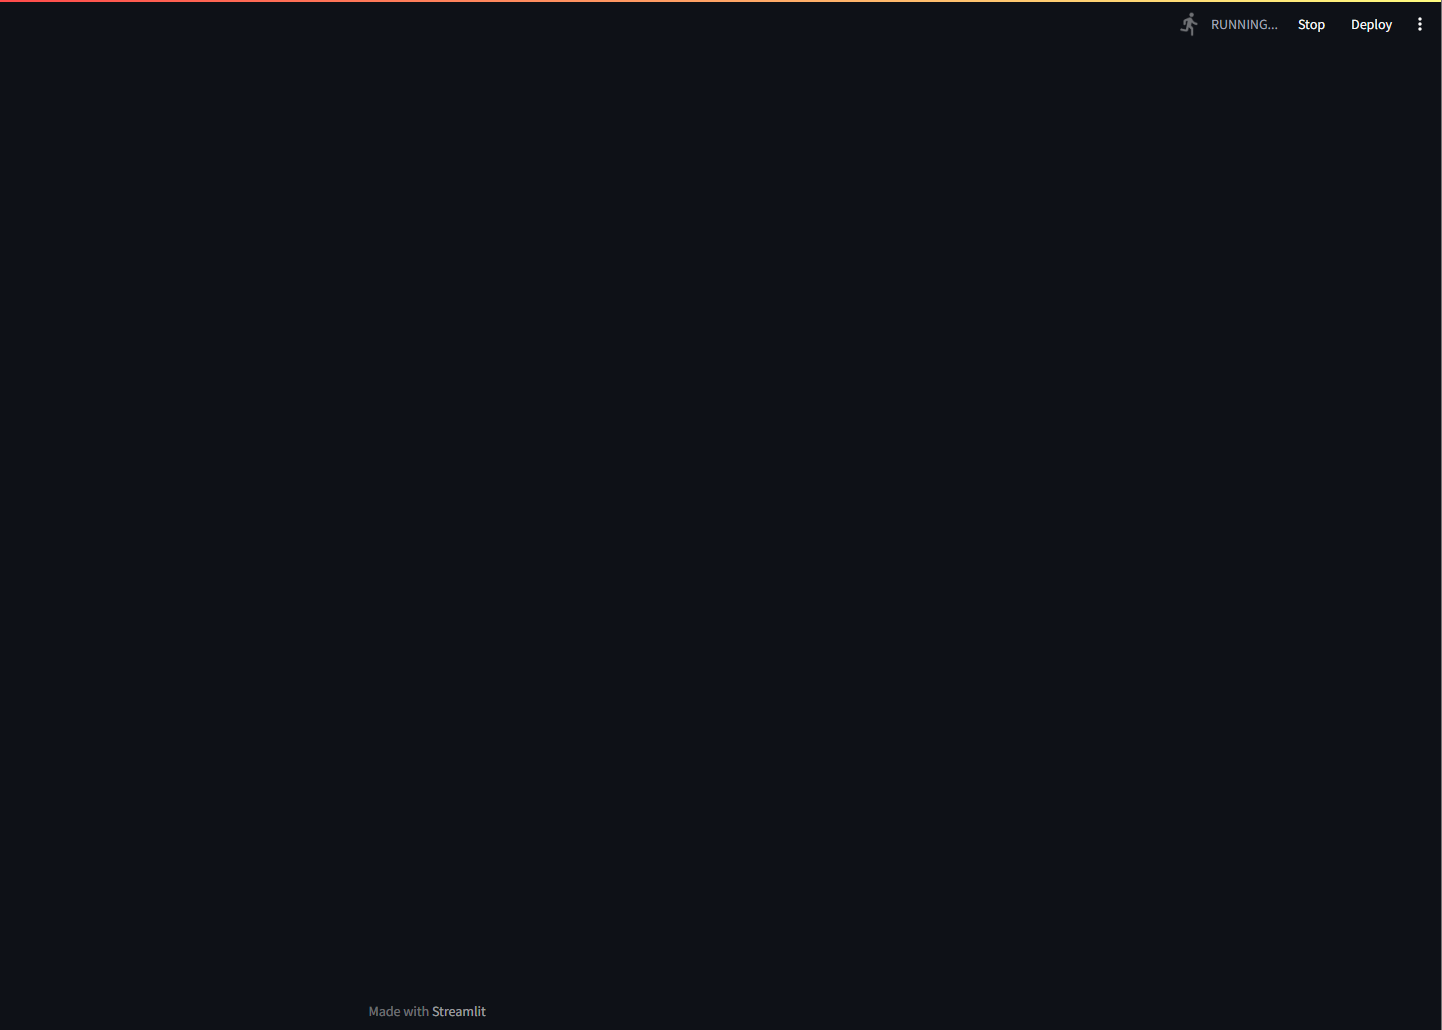
A screenshot of a blank app
Generate App
You can now begin writing your app!
Use import streamlit as st to use Streamlit as a Python module.
"""
# My first app
"""

import streamlit as st
Use streamlit run <appFilename>.py in the terminal to preview your
app (e.g., rendering, functionality).
Previews can also be actively launched while updating your code. If so,
the app will let you know in the top right corner that the source file
has changed and provide a rerun button to reload the app.

Screenshot of rerun button
Use Ctrl+C in the terminal to stop the app after launch.
Make sure to output a requirements.txt file listing required Python
dependencies for your app.
Note: Sometimes sensitive credentials or secrets are necessary to develop your app locally. Please visit Streamlit’s Secrets management documentation for more information.